
Last updated November 18, 2026
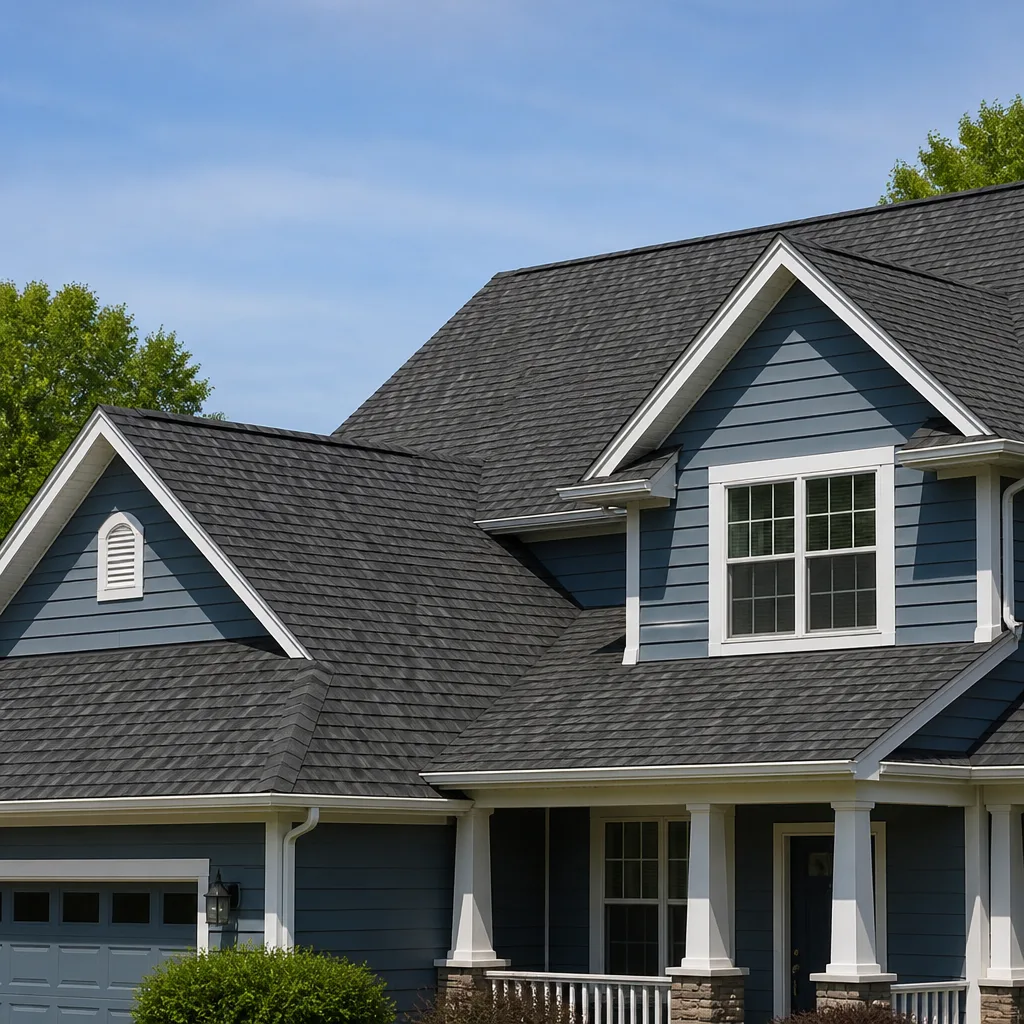 Architectural shingles
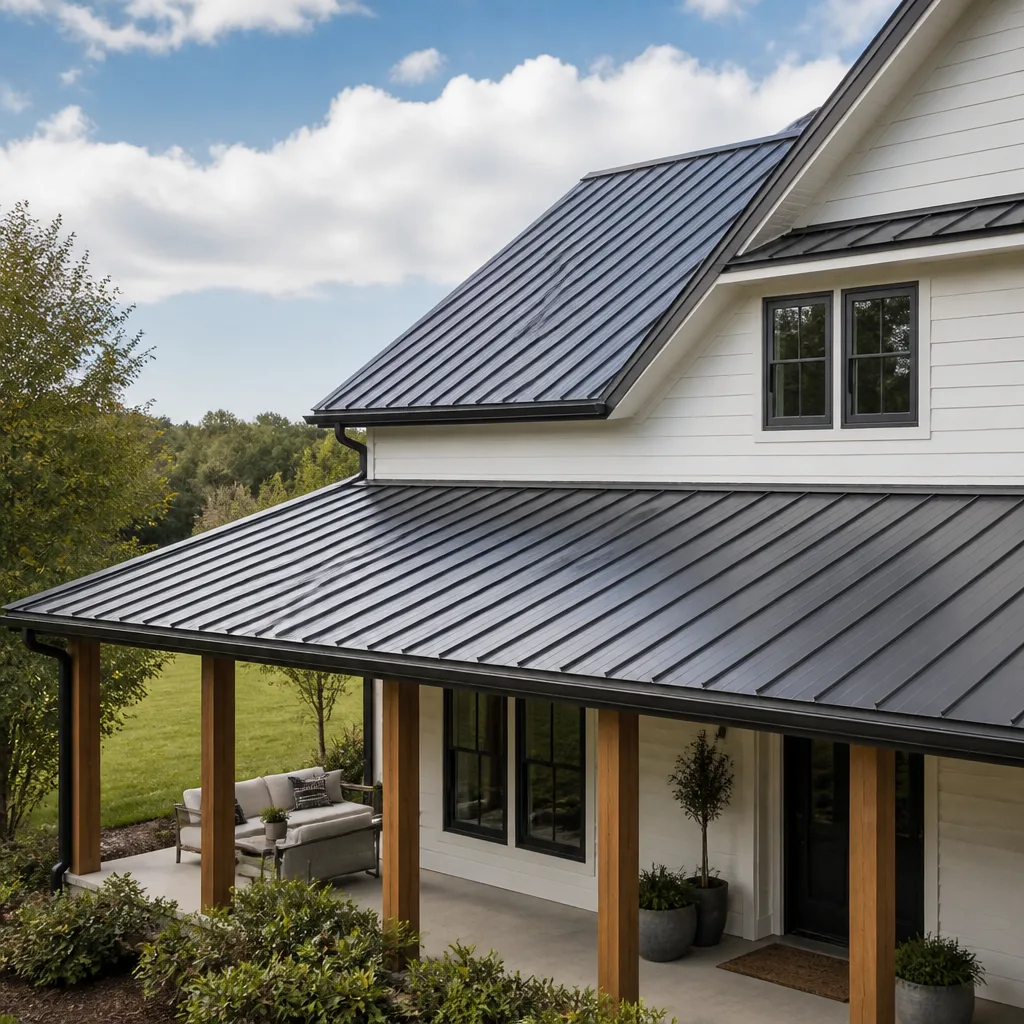 Metal roofing
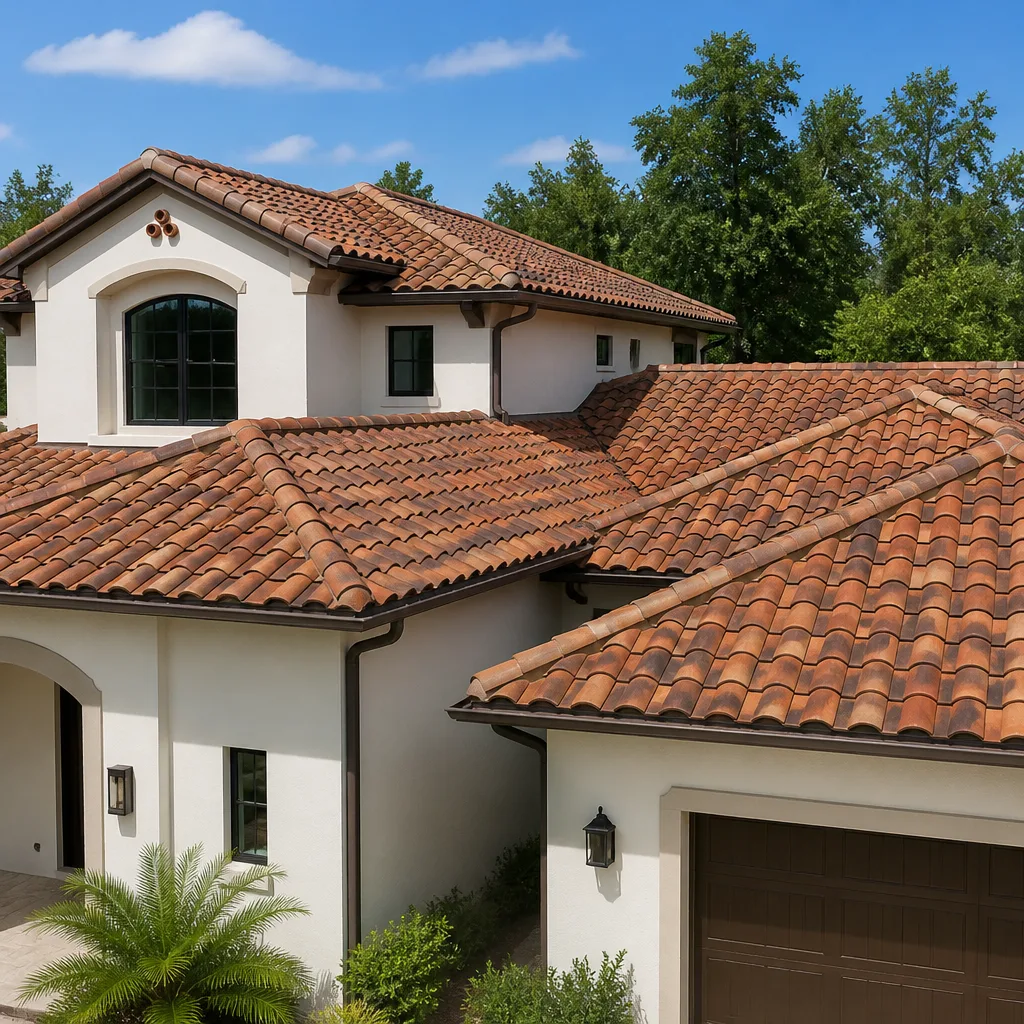 Tile roofing
 GAF
 Owens Corning
 Flat & low-slope
Free roof inspection with deck photos before we talk money - GAF and Owens Corning certified installation
DIY vs Professional Roof Repair: What’s Safe to Do Yourself
Replacing three cracked tiles on your back slope is a reasonable Saturday job. So is clearing leaves out of a valley or touching up a bead of exposed caulk on a low-slope section. But both of those tasks sit directly above the same underlayment that neither one will reveal, and that gap is where homeowners in Henderson lose ground by acting too fast. A tile swap can look perfect from the driveway while the felt beneath it is already failing, and the first sign of trouble shows up as a brown ring on the ceiling three months later. This guide draws a clear line between the work a careful homeowner can honestly handle and the repairs where a well-meant attempt creates new damage: what’s safe, what isn’t, and how to tell the difference before you climb the ladder.
Quick Answer
Safe DIY roof work is limited to low-stakes surface tasks: removing debris from valleys and gutters, replacing a single cracked tile or shingle, and reapplying exposed caulk on a low-slope area you can reach from a stable ladder. Everything else, including flashing, pipe boots, punctures, and any repair that requires walking the roof surface, is professional work. In Henderson, summer roof surface temperatures pass 170°F by mid-morning, which shrinks the safe window for any roof work to a few early hours and stacks the deck against a homeowner working alone.
Styles & brands we work with
- Architectural shingles
- Metal roofing
- Tile roofing
- GAF
- Owens Corning
- Flat & low-slope
Table of Contents
- What’s the right question to ask before you start?
- Which roof repairs are genuinely safe for a careful homeowner?
- Which repairs look simple but carry hidden risk?
- Why is Henderson such a hard place for DIY roof work?
- Can a botched DIY repair void your manufacturer warranty?
- What does a professional photo-documented inspection see that you can’t?
- How do DIY and professional repairs compare side by side?
- How do you decide what to attempt and what to hand off?
What’s the right question to ask before you start?
Most homeowners frame the decision as a question of capability: am I handy enough to fix this? The better question is whether the repair you’re planning will hold, and whether a failed attempt will make the underlying problem worse or more expensive. Those are two very different tests, and the second one matters more.
A repair that holds is one that addresses the actual cause of the leak, not the visible symptom. If a shingle is cracked because a nail below it backed out, gluing the shingle down seals the crack and leaves the source untouched. The next rain finds a path back into the same spot, and now the area has been disturbed twice. That compounding effect is what makes a failed DIY repair more costly than never touching it. You’ve added labor, disturbed materials that might still have been sound, and made the eventual diagnosis harder for anyone who inspects it after you.
The capable-versus-consequential distinction shows up across home repair. Painting a bedroom is low-stakes even if you do it poorly. Resealing your own pipe boot is a different matter; the collar sits over an opening in the roof deck, and if it fails, water enters that opening directly. The tasks that are safe to try are the ones where a poor result is visible, harmless, and easily corrected. The tasks that are not are the ones where a poor result is invisible, structural, or silently destructive.
We’ve seen this play out across Henderson neighborhoods for years. A homeowner patches a small leak near a bathroom vent with roofing cement. It holds for a season, then the underlayment around the vent rots from below. By the time the ceiling stains appear, the repair has grown from a $200 boot replacement to a section of decking, sheathing repair, and interior ceiling work. The patch didn’t cause the rot, but it hid it long enough that the original fix, Roof Repair in Henderson, became a much larger job.
Which roof repairs are genuinely safe for a careful homeowner?
A small set of tasks is fair game for a homeowner with a solid ladder, sensible shoes, and a realistic sense of their own limits. These are the jobs where a mistake costs a little time and nothing else. If you’re going to work on your own roof at all, stay inside this boundary.
- Clearing debris from valleys and gutters. Leaves, seed pods, and palm frond scraps collect in valley lines and behind chimney crickets. Clearing them with a soft brush from the roof edge or from a steady ladder keeps water moving the way the roof was designed to shed it. This is the single highest-value DIY task on a Henderson roof.
- Replacing a single broken or cracked tile. A tile that has slipped, cracked, or been displaced by wind can be lifted and a matching piece set in its place, provided you’re working at the eave or from a ladder and don’t need to walk the field. Never break more tile in to get at one piece. If the repair requires lifting a dozen tiles, it’s no longer a one-piece job.
- Reapplying exposed caulk on a low-slope section. On flat or low-pitch areas, sealant at the edge of a termination bar or along a parapet can dry out and pull away. Reapplying a compatible sealant to visible, exposed joints within easy reach is safe and worthwhile. Use a sealant rated for exterior roof use, and clean the surface first; sealant over dirt doesn’t bond.
- Removing debris from behind a chimney. Pine needles and grit pile up behind chimneys and against cricket walls. Scoop it out from a safe position and discard it.
Every one of those tasks has the same property: you can see the full extent of what you’re touching, you don’t need to walk the roof, and you’re not making a hole in it. If a job requires any of those three things, it’s out of DIY territory. For general maintenance across a variety of roof types, our Specialty Roofing in Henderson page covers the materials and how each one ages differently in the desert.
Which repairs look simple but carry hidden risk?
The repairs that cause the most trouble are rarely the dramatic ones. They’re the small fixes that seem straightforward because you can see exactly what needs doing. The problem is what you can’t see: what’s happening below the surface, and what your repair is doing to the materials around it.
Flashing nail placement that creates new penetrations
Flashing around a chimney, skylight, or wall intersection is meant to move water away from a seam. To do that, it has to be fastened in specific places, into specific materials, at specific depths. When a homeowner reattaches a loose piece of flashing with a nail placed an inch too low, that nail becomes a new penetration through the roof surface. Water finds it. The flashing may look tight, but it’s now a small hole with a metal shield over it that channels water directly onto the fastener. The leak doesn’t appear under the flashing; it appears somewhere else entirely, weeks later, and the cause is hard to trace.
Overtightened pipe boot collars that crack the rubber
A pipe boot is a rubber collar that seals the roof around a plumbing vent stack. It’s a simple component, but the collar has a specific tension at which it seals without fatigue. Tighten the stainless ring past that point and the rubber begins to micro-crack at the tension line. It may hold for a summer, then split in the first hard freeze of winter. From the roof, the boot looks fine. The split is underneath the ring, invisible until water starts coming through the ceiling below. This is one of the most common hidden failures we find on Henderson roofs, and it’s almost always the result of an overzealous DIY fix a season or two earlier.
Sealant applied over an active leak
Caulk and roof cement are not waterproofing; they are sealants. If they’re applied to a surface that still has water behind it, they trap that water against the deck. The sealant fails faster than the exposed surface would have, and the deck rots from the inside out. On roofs with an ice-and-water membrane, water that gets trapped under a sealant patch can wick along the membrane and appear far from the original repair.
Replacing shingles without the seal beneath them
If a shingle is failing, the layer under it is probably failing too, or was already failing when the shingle failed. A residential installer pulls the shingle back far enough to inspect the underlayment and repairs or replaces it before setting new material. A homeowner working from the surface almost never does this, and the new shingle goes down over whatever is there. The shingle holds. The underlayment doesn’t. We’re authorized installers of Owens Corning, IKO, and Atlas, and every one of them ties warranty coverage to proper installation over sound material; a shingle laid over failing felt doesn’t qualify.
Why is Henderson such a hard place for DIY roof work?
Henderson roofs run hotter than most places in the country. By mid-morning on a July day, a tile or shingle roof surface can easily exceed 170°F. A dark asphalt surface can push toward 180°F. At those temperatures, rubber softens, sealant skins over before it bonds, and your body’s ability to cool itself falls apart much faster than most homeowners expect.
The physical safety window
The safe window for roof work in Henderson runs roughly from sunrise to about 8 or 9 a.m. in summer, and even inside that window, midday heat in the valley climbs quickly. Between late May and early September, working on a roof between 10 a.m. and 4 p.m. is genuinely dangerous, not just uncomfortable. In that window, the roof surface is hot enough to cause contact burns through a thin shoe sole and to reduce your grip on metal tools enough to lose them over the edge. Heat stress on a ladder is a major cause of falls, and roof falls are the leading cause of serious injury among residential homeowners doing their own repair work.
What the heat does to material
High surface temperatures also change how roofing materials behave during installation. Adhesive strips on shingles don’t seal properly when the material is too hot or too cold, and work done outside the manufacturer’s recommended temperature range can compromise the seal. A DIY shingle replacement done at 2 p.m. in July may look fine and fail to seal at its first cool night. Tile grout and mortar applied in extreme heat cure too fast and crack.
The narrower practical window
Practically, this means Henderson homeowners have the shortest safe working window of almost any climate. Our local crews plan repairs around this window rather than fighting it. If you’re going to do the small jobs yourself, plan them for early morning in the cool months, and don’t start a job in June that you can’t finish by 9 a.m. If the repair is bigger than a morning, parcel it out over several early mornings or hand it off.
Can a botched DIY repair void your manufacturer warranty?
Yes, and it often voids more than the section you touched. Roofing manufacturers, including Owens Corning, IKO, Atlas, and Tamko, write their warranties around installation by qualified contractors and proper material sequencing. When a manufacturer investigates a claim, one of the first things it looks at is the condition of the surrounding roof and whether the failure pattern is consistent with install error, damage, or work done by someone outside the install chain.
The key point most homeowners miss is that the warranty isn’t limited to the failed material. It can be affected on adjacent materials too. If a homeowner cuts into a valley to patch a leak and the adjacent courses are later found to be improperly flashed, the manufacturer can reasonably attribute the failure to the repair and decline the claim. You didn’t touch those courses; you still lost their coverage.
Underlayment and flashing warranties are similarly affected. If a water-and-ice membrane or a metal flashing system has a limited warranty from its maker and the roof around it is later found to have been modified by a non-qualified party, that coverage is at risk. In practice, we’ve seen homeowners lose valid warranty claims on adjacent material after a single unpermitted repair on a far corner of the roof. If you’re not sure whether a repair is more than your scope, that’s the moment to call and ask before you touch anything.
There’s a related point about resale. When a home goes on the market, most disclosure requirements ask whether any repair was made by someone unlicensed. A DIY repair doesn’t have to be an automatic problem, but it does have to be disclosed. For homeowners planning to stay put another twenty years the way many of our Henderson customers do, warranty protection and disclosure accuracy both matter far more than the money saved on one small fix.
What does a professional photo-documented inspection see that you can’t?
The most valuable part of a professional inspection isn’t the diagnosis of the leak you called about. It’s what gets found alongside it. Trained eyes walking a roof in a set pattern with a camera in hand see things a homeowner won’t, and not because of access alone.
- Angle. The angle from which you inspect matters as much as what you’re looking for. A failing counterflashing reveals itself when viewed from the low slope looking up; viewed from the ridge looking down, it looks flush and sound. Our technicians walk a set pattern and photograph from multiple angles so the inspection record shows each problem from the angle that reveals it.
- Lighting. The low sun at the eave in early morning and again in late afternoon reveals stress, buckling, and moisture lines that a midday inspection misses entirely. We schedule inspections to take advantage of this.
- Pattern recognition. A technician who has walked hundreds of roofs develops a trained sense of what an early-stage failure looks like: a very slight lift in the shingle course, a subtle shadow line below a pipe boot, a rim of mineral loss around a vent. None of these are visible to an untrained eye from a ladder at the edge. Together they predict the next three failures before they happen.
- Secondary damage. A professional inspection looks for what the leak is doing below the roof, not only at the point where it started. A ceiling-only view from the attic rarely reveals the full extent of a slow leak; a documented roof inspection can correlate surface condition with interior evidence.
- Photo documentation. Every inspection we perform is photographed from your actual roof, not described in the driveway afterward. The photos are yours. If a warranty or insurance claim is involved, that record is what the paperwork needs.
Self-inspection isn’t worthless. Walking your own property at ground level with a camera every few months, and looking up from a safe ladder at edges and penetrations, catches obvious problems early. But when the stakes are warranty protection or a leak that has already started, a professional inspection is the more reliable tool. If you’re comparing a completed repair to a full replacement, our Roof Replacement & Installation in Henderson page walks through the decision.
How do DIY and professional repairs compare side by side?
Here’s the comparison most homeowners actually want, put in one place. The numbers below are ranges we see in Henderson for common repairs, and they compare a careful DIY attempt against a professional repair.
| Task | DIY realistic cost | Professional repair range (Henderson) | What can go wrong DIY |
|---|---|---|---|
| Clear valleys and gutters | $0-$40 (tools) | Tune-up $89 | None, if you stay on the ladder |
| Replace one broken tile or shingle | $15-$40 in materials | $150-$300 | Cracked adjacent pieces; improper seal |
| Reapply exposed caulk, low-slope | $20-$60 in sealant | $150-$350 | Trapping water; early sealant failure |
| Replace a pipe boot | $15-$30 in boot + sealant | $200-$400 | Over-tensioned ring cracking rubber |
| Reflash a chimney or wall intersection | $40-$100 in flashing | $350-$900 | New penetrations; hidden leaks |
| Chase a slow leak with unknown source | $0-$200+ wasted material | $200-$600 diagnostic + repair | Underlayment damage spreads; interior damage |
Two things stand out in that table. First, the DIY savings are real but modest, and they’re concentrated on tasks where the risk is also low. Second, on the repairs where a failure would be expensive, the spread between DIY savings and the real repair cost is small. A homeowner who spends $30 on a boot and $60 on sealant to save $200 on a professional repair is not saving $200 if the repair fails and the underlayment needs replacing. They’re trading a small saving for a large risk.
For homeowners outside Henderson proper, our Ridgeline Roofing Co. Henderson home page has more on our coverage area and how inspections are scheduled. And if you’re comparing a professional repair to a replacement, ask for the written estimate in both conversations; comparing numbers is easier when both numbers are on paper.
How do you decide what to attempt and what to hand off?
The simplest decision rule is: attempt only what you can complete from a ladder in the early morning, and hand off anything that requires crossing the roof surface, lifting more than a couple of pieces, or drilling into the roof. That rule keeps you inside the safe zone and outside the consequential zone. It’s not a rule of thumb for ability; it’s a rule for what kind of mistake you’d be making if it went wrong.
Here’s a step-by-step way to think through any specific repair:
- Look at the problem from the ground. Use binoculars or a phone camera zoom. Identify the exact place the problem appears to be. If you can’t pinpoint the source from below, it’s not a task to attempt.
- Ask whether the repair requires drilling or fastening. If yes, it’s flashing, boot, or penetration work. That work is professional territory.
- Ask whether you can see the full extent of what you’ll be touching. If the answer requires lifting adjacent materials to see what’s underneath, you’re already in diagnosis territory, which belongs to a professional.
- Ask what happens if the repair fails. If a failure creates a bigger, harder-to-diagnose problem than the one you started with, don’t attempt it.
- Consider timing. Can you finish the job before 9 a.m. in the cool months, or from a safe ladder position in the cooler hours? If not, reschedule or call.
- When in doubt, get an inspection. A free second opinion on any written estimate, or a scheduled inspection, is cheaper than the alternative.
- Record what you do. If you do a small repair, photograph it and keep a note. It matters for warranty and resale.
Common Mistakes to Avoid
- Applying sealant over an active leak. Sealant traps water against the deck and accelerates rot. If water is coming through right now, the leak is active and needs professional diagnosis, not a patch.
- Driving a nail through flashing to reattach it. Every nail into roofing is a potential leak path. Each new penetration has to be located and sealed correctly, which is professional work, not a fix.
- Over-tightening pipe boot collars. The ring on a pipe boot has a specific tension; past it, the rubber micro-cracks and fails in cool weather. Hand-tight is not the same as correct.
- Working the roof between 10 a.m. and 4 p.m. in summer. A Henderson roof surface exceeds 170°F by mid-morning. Heat stress and contact burns are the reasons roof falls happen, and the surface is dangerous in that window.
- Replacing a broken piece without checking what’s underneath. A failed shingle or tile is usually a sign of failing underlayment. Laying new material over the top hides the problem instead of fixing it.
- Assuming your repair can’t affect your warranty. A repair on one section can compromise manufacturer warranty coverage on adjacent material you never touched. Check with the manufacturer’s warranty terms before starting.
- Not documenting the repair. If you do a small repair, take photos and keep a written record. Warranty claims and resale both depend on it, and a missing record is hard to argue around.
See the difference
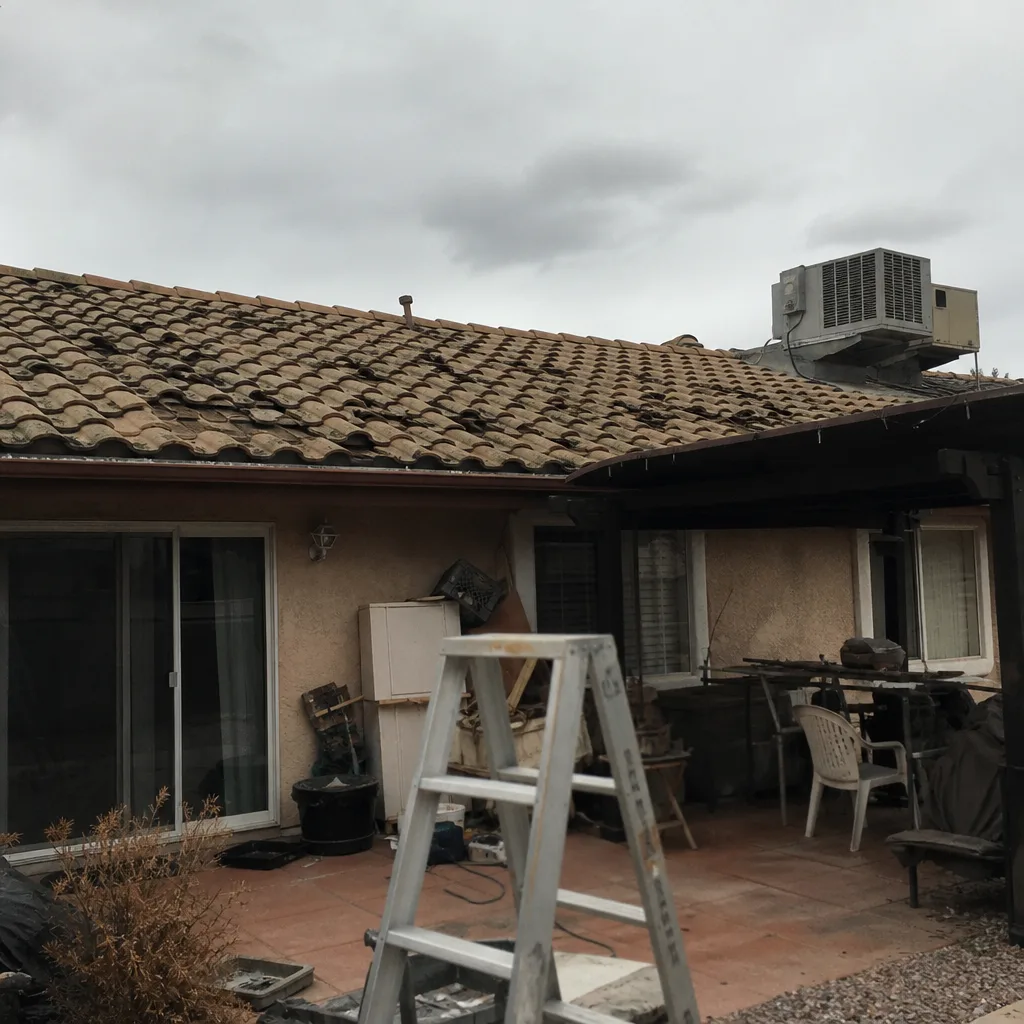 Before
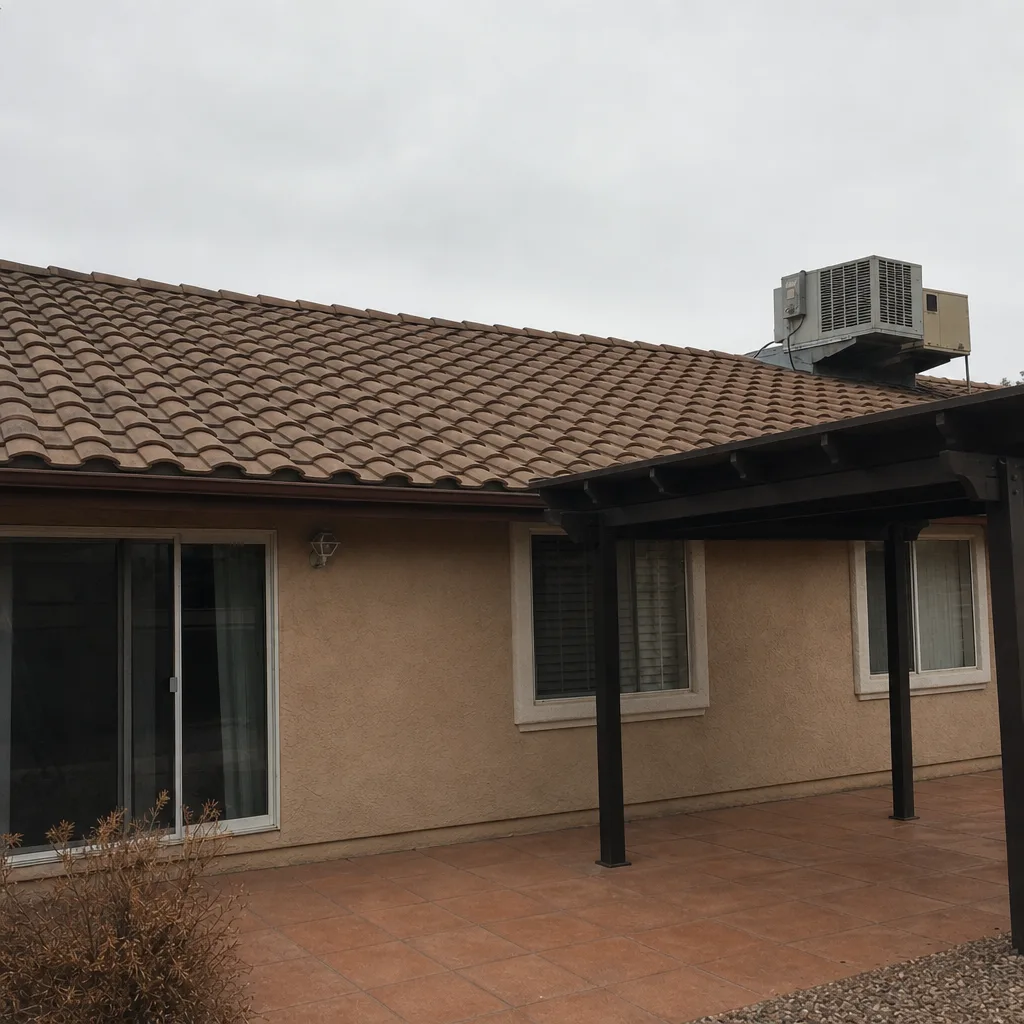 After
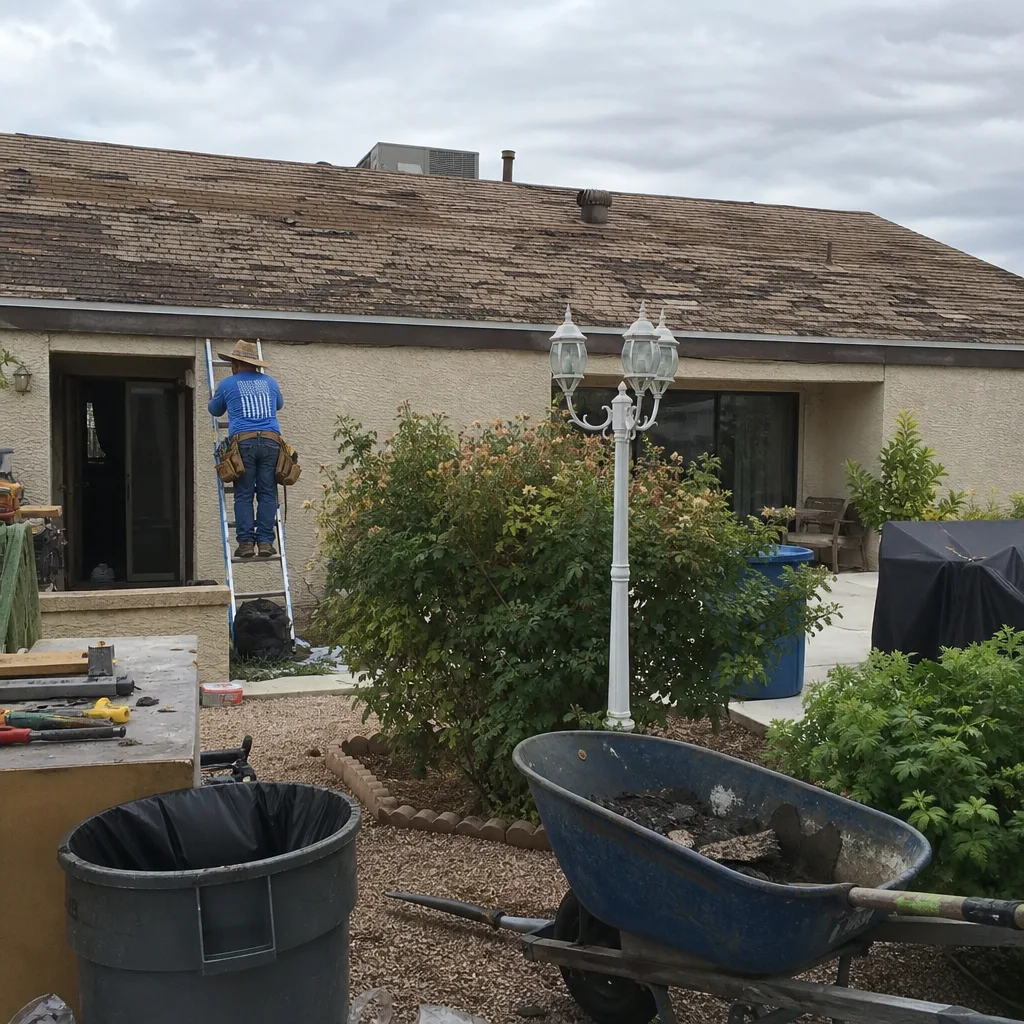 Before
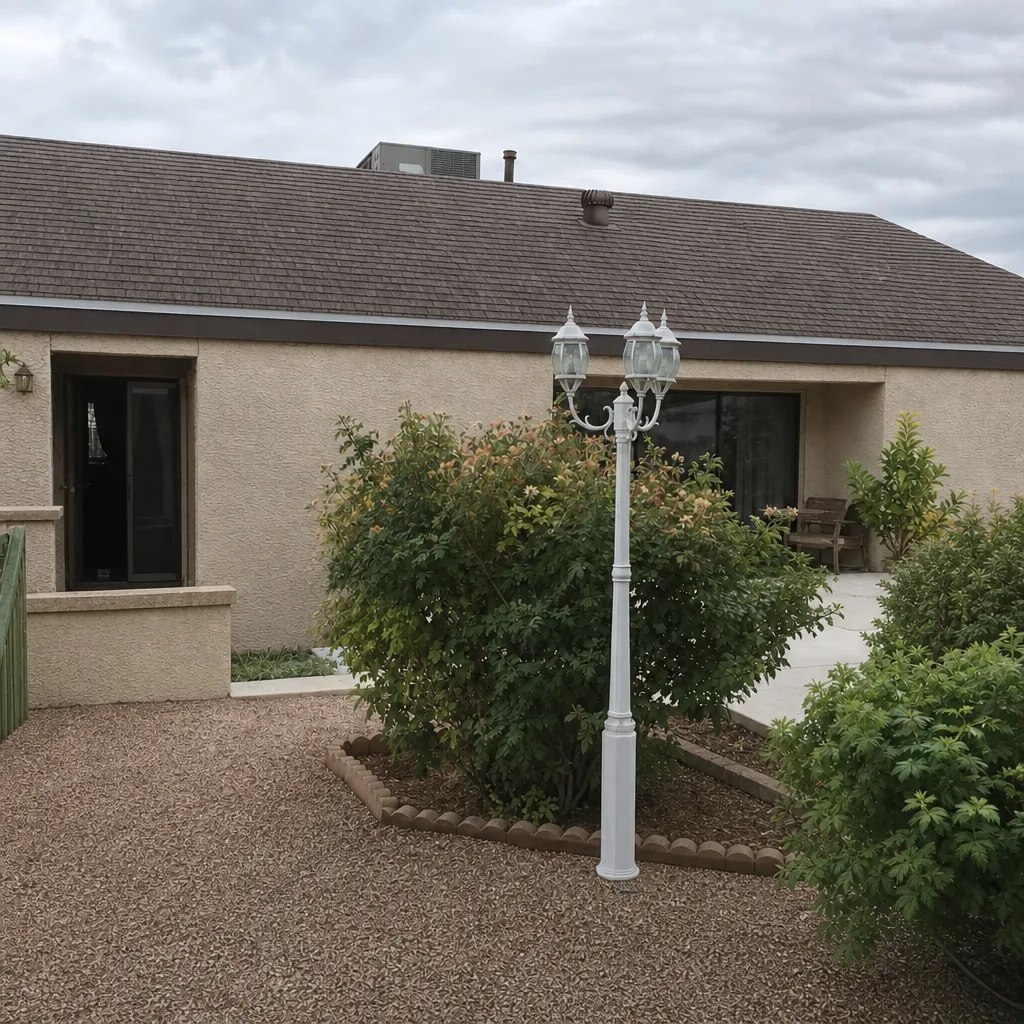 After
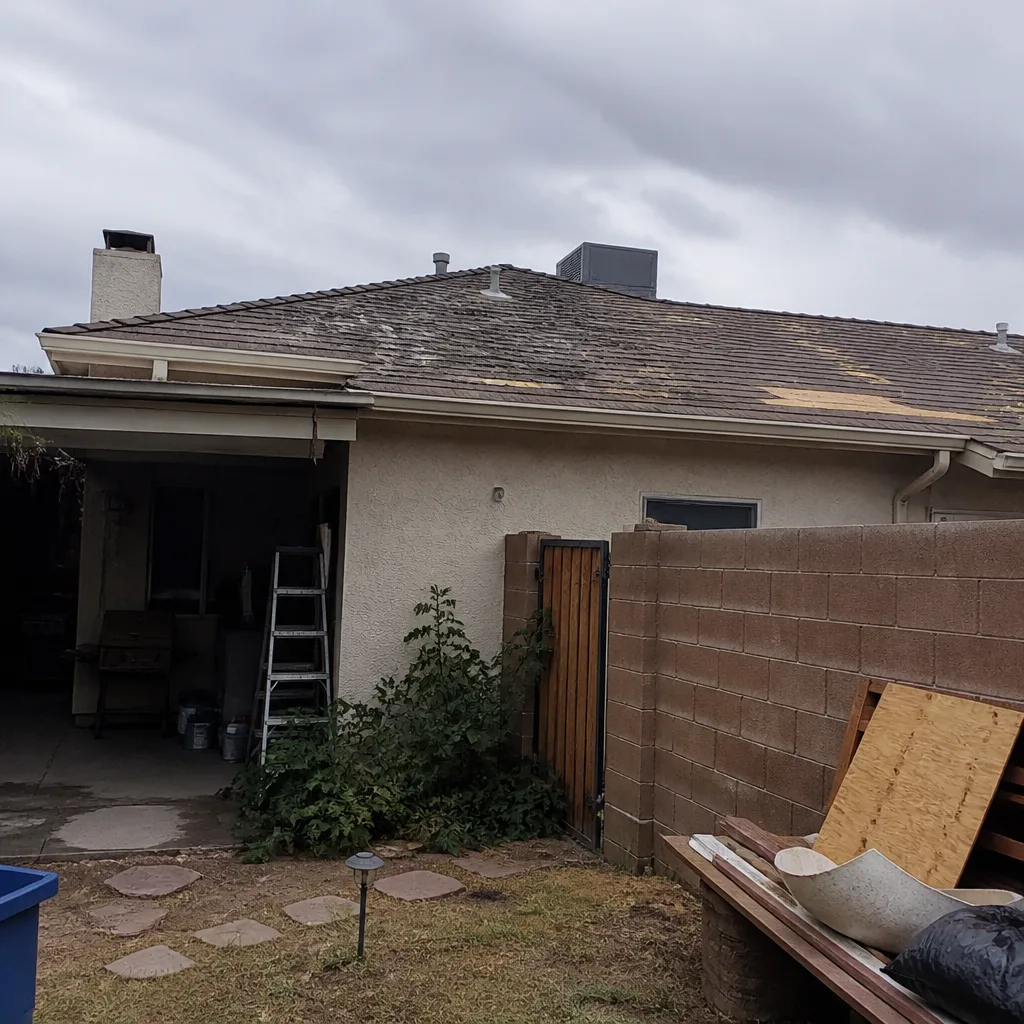 Before
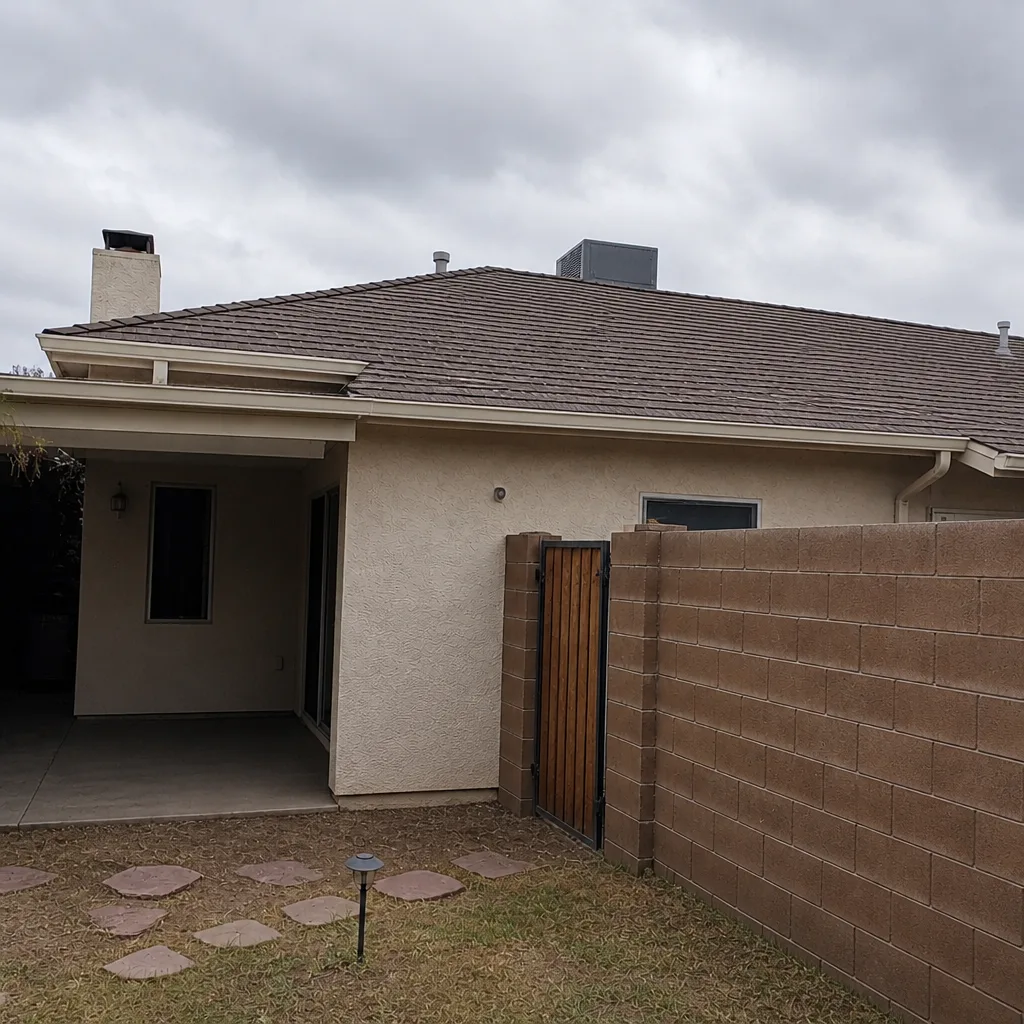 After
When to Call a Professional
Call a professional the moment a repair involves: any penetration into the roof; any repair around a chimney, skylight, or wall intersection; any water actively coming through the ceiling; any roof where the safety window is already gone (it’s 10 a.m. or later in summer); any repair involving the underlayment, flashing, or pipe boots; and any repair on a roof you can’t see the full extent of from a stable position. We’ve been on Henderson roofs since shortly after this company began in 1984; we’ve seen every step on the list below go wrong at least once. Ridgeline Roofing Co. Henderson offers free estimates in Henderson, and we’ll give you an honest read on what you can safely do yourself. Call (833) 691-6717.
Frequently Asked Questions
Only for a small set of low-stakes tasks: clearing debris from valleys and gutters, replacing a single broken tile, reapplying exposed caulk on a low-slope section, and clearing behind a chimney. Any repair that requires fastening, drilling, walking the roof, or working past 9 a.m. in summer is not safe. The heat alone makes Henderson one of the most dangerous places in the country to attempt roof work in the wrong window. Call (833) 691-6717 for a free estimate on anything more involved.
Yes, and often on more than the section you touched. Manufacturer warranties are conditioned on installation by qualified contractors and on the proper sequence of materials. A DIY repair on one part of the roof can let a manufacturer deny a claim on adjacent materials you never touched. Call us for the free second opinion on any written estimate before you commit; (833) 691-6717.
Above about 100°F ambient, roof work becomes dangerous, and in Henderson a tile or shingle roof surface exceeds 170°F by mid-morning in summer. The practical safe window is roughly sunrise to 9 a.m. in the hot months, and even then you should only work from a stable ladder. Anything after that is not a job for a homeowner. Call (833) 691-6717 for a professional inspection instead.
Most common repairs in Henderson run $200-$600 depending on the source, and diagnostic work on a slow leak with an unknown source adds $150-$300. Full pipe boot replacement is typically $200-$400. We’ll give you a written, upfront price before any work starts, and the number on the estimate is the number on the invoice. Call (833) 691-6717 for an exact quote, free of charge.
Yes, if the repair can be done from a stable ladder or from the eave, without walking the roof, and without lifting adjacent pieces. Once the repair starts reaching into the field or requires lifting a dozen tiles, it’s professional work. If you’re unsure whether your repair crosses that line, call and ask; (833) 691-6717.
A trained inspection that catches the secondary damage you can’t see; a free written second opinion on any estimate; and the 90-Day Done Right Promise, a written workmanship guarantee that we stand behind with no arguing and no paperwork runaround. Everything we install is from GAF, CertainTeed, Owens Corning, IKO, Atlas, Tamko, or Boral, and nothing is substituted. Call (833) 691-6717 for a free estimate.
The Bottom Line
DIY roof repair is reasonable for the small surface tasks where a failure is visible and harmless: clearing valleys, replacing a single piece, reapplying exposed caulk from a safe position. It’s the wrong tool for anything that reaches into the roof’s structure, which means flashing, pipe boots, penetrations, underlayment, and anything requiring you to walk the surface. In Henderson, the heat narrows the safe window to a few early hours and turns a mild miscalculation into a real risk. A failed DIY repair typically costs more than the repair itself, and it can quietly affect manufacturer warranties on materials you never touched. If the job sits anywhere near the line, the right move is a free estimate. Call (833) 691-6717.
Get a Free Estimate
Ridgeline Roofing Co. Henderson has been standing behind local roofs since 1984. Our technicians have up to 10 years of experience, they’re background-checked and uniformed, and every inspection is photo-documented from your actual roof. Our phones are answered by a live person around the clock, including nights, weekends, and the middle of a storm. Call (833) 691-6717, and we’ll give you an honest read on what you can fix yourself and what needs a trained hand. Every job we do is backed by the 90-Day Done Right Promise: if it is not right, we come back and make it right. We’re authorized installers of GAF, CertainTeed, Owens Corning, IKO, Atlas, Tamko, and Boral, and we don’t substitute materials. A square deal means the price we quote is the price you pay, and the same crew that inspects your roof will be back when the work is done. Call (833) 691-6717 for a free estimate.
Written by the team at Ridgeline Roofing Co. Henderson.