
Last updated November 18, 2026
 Architectural shingles
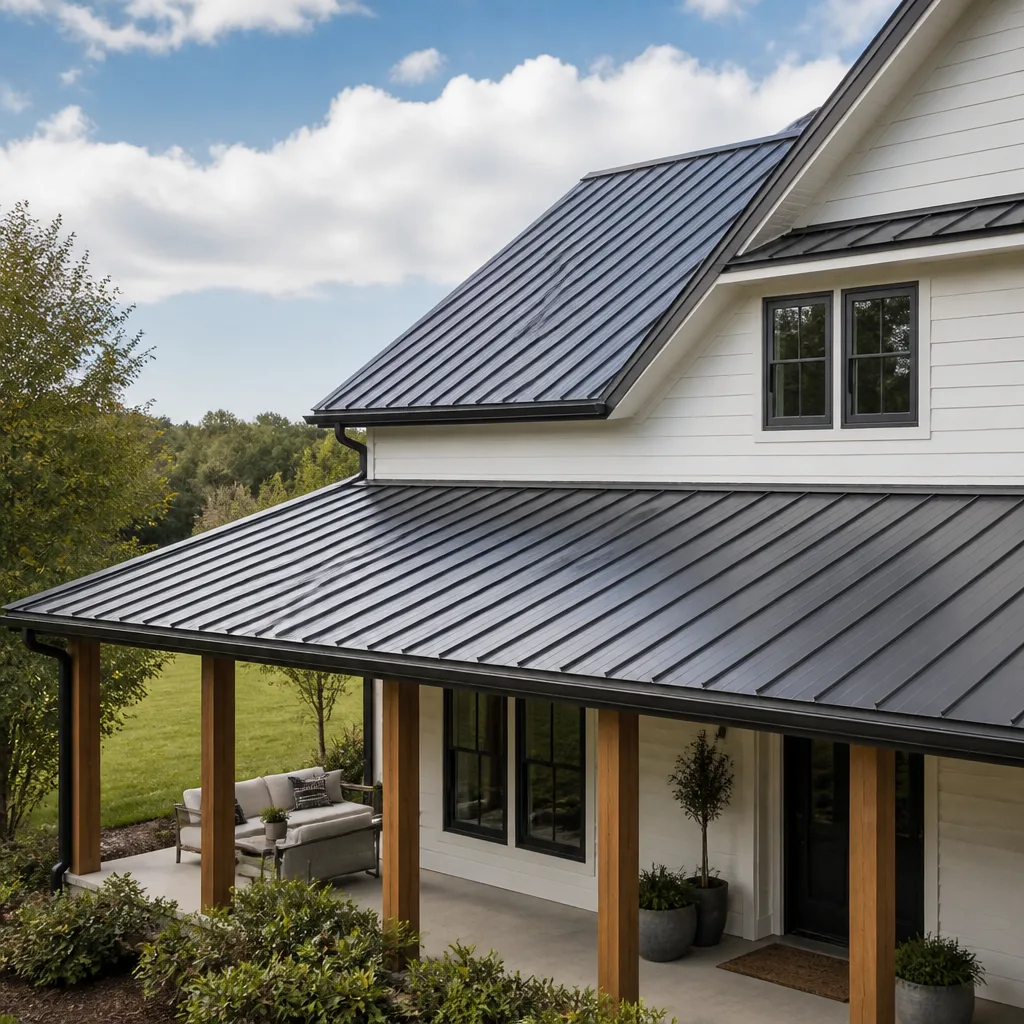 Metal roofing
 Tile roofing
 GAF
 Owens Corning
 Flat & low-slope
Free roof inspection with deck photos before we talk money - GAF and Owens Corning certified installation
Roof Repair Troubleshooting: Common Problems and How to Fix Them
A ceiling stain directly under a skylight almost never means the skylight is leaking. Water runs along rafters and decking for six feet or more before it finds a seam to drip through, which is why the repair that “should have worked” so often doesn’t. Homeowners in Henderson stare at the same brown ring on the same ceiling for months because they’re fixing the symptom they can see, not the failure point that caused it. This guide teaches the diagnostic chain: start at the stain and work backward to the actual breach. You’ll learn how to read the location of a leak, how to run a controlled water test, how to match a symptom to the component most likely to fail, and how to document a repair so nobody argues about it later.
Quick Answer
To find a roof leak, start inside at the stain and work inward and upward to the failure point, because water rarely drips directly below the breach. The most reliable method is a controlled hose test run from the bottom edge of the suspected zone upward, stopping the moment water reappears inside. Most leaks at homes in Henderson trace to pipe boots, valley flashing, or mortar-set ridge caps on tile roofs, and a correct diagnosis matters more than the repair itself.
Styles & brands we work with
- Architectural shingles
- Metal roofing
- Tile roofing
- GAF
- Owens Corning
- Flat & low-slope
Table of Contents
- The Diagnostic Chain: Work Backward From the Stain
- The Three Most Common Roof Repair Misdiagnoses
- How to Run a Hose Test to Isolate a Leak Zone
- Valley Flashing vs. Pipe Boot vs. Ridge Cap: A Decision Tree
- Why Henderson Tile Roofs Leak at Ridge Caps That Look Fine From the Ground
- Why Fixing the Shingle Without Fixing the Underlayment Fails
- The Documentation Method That Protects Everyone
- Common Mistakes to Avoid
The Diagnostic Chain: Work Backward From the Stain
A leak is a story told in reverse. Your ceiling stain is the last chapter, not the first. The trick is to read the architecture between that stain and the sky. Water obeys gravity and the slope of your decking, and it will follow a rafter, a truss bottom chord, or a piece of mechanical conduit for a surprising distance before it drops.
Here’s the chain we walk on every inspection:
- Locate the interior mark exactly. Note whether the stain sits near a wall, a chimney, a skylight, a valley, or a plumbing vent stack. That geography narrows the search before you ever climb.
- Measure the horizontal and vertical offset. Get into the attic with a tape and find the point directly above the stain. The real breach is usually uphill of that point, sometimes uphill and offset to one side following a rafter.
- Check the underside of the decking. Water leaves a tide line on plywood or OSB. The highest wet mark is closest to the entry point, not the drip point.
- Match the wet pattern to a roofline feature. A streak that runs diagonally suggests a valley or a sidewall. A straight run suggests a rafter or a ridge failure.
- Confirm on the roof surface. Once you have a suspected component, the hose test proves or disproves it.
In Henderson, attics are hot and tight, so most homeowners skip step two and go straight to the roof. That’s the single biggest reason leak repairs get repeated. If you’d rather hand the whole chain to a crew that does it with photos on every call, our Roof Repair in Henderson team works this exact sequence.
The Three Most Common Roof Repair Misdiagnoses
We’ve re-inspected hundreds of roofs across Henderson where a previous repair failed, and the same three errors account for most of them.
1. Fixing the visible shingle and ignoring the underlayment beneath it
You see a cracked or lifted shingle, you nail a replacement over it, the stain comes back next winter. Shingles shed water but the underlayment is the actual waterproof layer. A shingle defect that got water into the felt has already compromised the felt, and patching only the shingle leaves a wet, degraded underlayment that will keep migrating water for years. A proper repair opens the assembly, rates the felt, and replaces what’s failed.
2. Assuming the leak is directly below the wet spot
Covered in the section above, but it bears repeating: water travels. A homeowner who patches the shingle six inches above a ceiling stain is often patching a roof that was never leaking there.
3. Up-selling a full tear-off when a component repair is the honest fix
Not every leak is a failing roof. A pipe boot that has cracked after 15 summers of Henderson sun is a $180 to $320 repair, not a replacement. If a bidder jumps to a tear-off on a single leak, get a second opinion before you sign anything. Careful diagnosis saves real money.
How to Run a Hose Test to Isolate a Leak Zone
A hose test is the safest, most reliable way to pinpoint a leak without tearing anything off. You’re not washing the roof; you’re introducing water in controlled stages and watching what happens inside.
You’ll need: a garden hose with an adjustable nozzle set to a gentle spray, a helper inside the attic or the room below with a flashlight and phone, and a dry day.
- Start low, work up. Begin at the lowest suspected point and direct water uphill along the slope for about five minutes. Water moves up-roof, so start low enough that if the breach is above the current zone, nothing happens yet.
- Isolate one component at a time. Test the pipe boot, then stop. Test the valley, then stop. Test the sidewall flashing, then stop. Never run three components in one pass; you’ll learn nothing.
- Watch inside during the test, not after. The helper should call out the instant water reappears. That timing tells you which spray zone broke the dam.
- Note the lag. Water can take 30 to 90 seconds to travel through decking to a drip. If you spray the boot and 90 seconds later water appears, you’ve found your component even if the geographic match feels off.
- Confirm with a second pass. Retest the component you suspect at a lower pressure. If water appears twice in the same lag window, you’ve found the breach.
A hose test will not catch a leak that only opens during a wind-driven storm or a leak under a fully sealed tile field. Those need a trained eye on the underside, and that’s the point where most Henderson homeowners call us.
Valley Flashing vs. Pipe Boot vs. Ridge Cap: A Decision Tree
Match the symptom location to the component most likely to fail. This is the fastest way to narrow the search before you climb.
Where is the stain?
- Ceiling near an exterior wall, especially below a wall/roof intersection: suspect sidewall or step flashing. Water gets behind the siding or stucco abutment and tracks down the wall cavity.
- Ceiling below an interior corner where two roof planes meet: suspect valley flashing. This is the highest-volume water channel on the roof and the most common source of leaks we see in Henderson.
- Ceiling above a bathroom or kitchen with a vent pipe through the roof: suspect the pipe boot. The rubber collar dries out and cracks in our summer sun, and it’s the second most common single component failure.
- Ceiling within three feet of the ridge line: suspect ridge cap or ridge vent. On tile roofs this is almost always mortar-set.
- Ceiling below a skylight, chimney, or roof-mounted HVAC unit: suspect curb flashing and the sealant behind it. Not the glass.
- Ceiling near an exterior wall at a gable end: suspect step flashing where the roof meets the wall, or a windshield flashing at the gable.
If you see water on the underside of the decking
A wet patch on the sheathing that spreads toward the ridge points up-slope to a valley or a ridge failure. A wet patch that tracks horizontally along a rafter points to a pipe boot or a nail pop on the same plane. Follow the tide mark uphill. It always leads to a component.
When the decision tree points to a valley or ridge, we don’t recommend homeowners handle those repairs themselves. Use the diagnostic path to identify the problem, then call. If the problem is more than a single component, our Specialty Roofing in Henderson crew handles the unusual roofs (tile, slate, metal, low-slope) that need a specific skill set.
Why Henderson Tile Roofs Leak at Ridge Caps That Look Fine From the Ground
Most of the tile roofs in Henderson, including the ones in Green Valley and along the foothills, were built with mortar-set ridge caps. That mortar is the only thing holding the cap tiles in place, and it does not last forever.
The failure mode is deceptive. From the ground the ridge looks straight and intact. Up close, a flat-head screwdriver pressed against the mortar at the joint will punch through to a hollow void. Heat cycling – 100-plus degree afternoons and cool desert nights – opens hairline cracks in the mortar. Wind-driven rain gets behind the cap, runs down the underside of the tile, hits the underlayment, and finds the first nail hole. That’s the leak. The cap tile itself is fine.
This is why a “roof repair” that only replaces the cap tiles fails. The cap was never the leak. The water was already inside the system, and reinstalling the same mortar over the same crack guarantees the leak returns. A proper repair removes the cap tiles, inspects the underlayment and the ridge vent, replaces compromised felt or adds a self-adhered membrane, re-beds the caps in a fresh mortar mix, and adds a bead of polyurethane at the joint. On newer homes we recommend a dry-set ridge system that eliminates the mortar entirely; it costs more upfront and lasts decades instead of years. If you’re considering a broader look at the roof, our Roof Replacement & Installation in Henderson team can talk you through whether a repair or replacement is the honest call.
Why Fixing the Shingle Without Fixing the Underlayment Fails
Shingles are your roof’s first line of defense. Underlayment is the actual waterproof membrane. When water gets past a shingle, it hits the felt or synthetic underlayment and spreads laterally under the shingle field until it finds a seam or a nail hole.
What that means for repairs:
- A shingle-only patch on a leak that has wet the underlayment will return with the next rain, often in a slightly different spot as water finds a new seam.
- The underlayment under a leaking area is usually degraded even when it looks intact. Felt that has been wet and re-dried loses its asphalt saturation and turns brittle. Synthetic underlayment is more forgiving but still loses integrity once water has penetrated under it.
- The correct repair opens the affected area, removes the wet shingle courses, inspects the underlayment, replaces any compromised section, and re-installs new shingles over fresh felt with new underlayment to the edges.
In Henderson the failure compounds because our dry season bakes moisture into the decking. Once the underlayment is breached, the sheathing absorbs and holds water in a way coastal homes don’t experience. That’s why we replace felt on every leak repair where we open the assembly, and why a bare-minimum patch will always come back. Good underlayment, properly installed and correctly flashed, is the difference between a repair that lasts and one that doesn’t.
The Documentation Method That Protects Everyone
Roof repairs live and die on what you can prove after the fact. A pre-repair photo set and a matching post-repair set is the single best protection a homeowner has, both against a job done wrong and against a dispute over what “done right” actually means.
Here’s the standard we hold ourselves to, and the standard we recommend you ask for from anyone you hire:
- Pre-repair photos with timestamps. Wide shots showing the roof section, close-ups of the failed component, and a shot of the interior stain or attic wet spot.
- A written scope of work. Which components are being replaced, which are being reused, and what the finished repair will look like.
- Mid-repair photos of the open assembly. The photo that proves the underlayment was actually replaced, not just the shingle.
- Post-repair photos with timestamps. The finished repair, the sealed flashing, and the clean site.
- A written workmanship guarantee. A real contractor stands behind the labor, not just the material. Ours is the 90-Day Done Right Promise: a written guarantee with no arguing and no paperwork runaround. If it isn’t right, we come back and make it right.
That documentation protects you if a leak reappears in the same spot and a different contractor tries to argue the repair was never done, and it protects the honest contractor from a claim that the wrong area was repaired. No one should have to argue about a roof from memory.
Common Mistakes to Avoid
- Patching the shingle and calling it done. Two sentences earlier in this guide explain why: water already inside the assembly will find a new seam. Fix the underlayment too or the leak returns.
- Sealing over a leak with roof cement. A mastic smear is a temporary stopgap, not a repair. On a Henderson tile roof the cement bakes, cracks, and peels within a couple of summers, and it can trap water against the underlayment.
- Skipping the attic. Getting into the attic with a flashlight and a tape measure tells you the geography of the leak. Most homeowners never do it, and the repair then happens in the wrong place.
- Ignoring the underlayment on a tile repair. We’ve seen tile repairs in Green Valley where the caps were re-bedded without touching the felt, and the leak was back in six months. The felt is the waterproof layer on a tile roof.
- Hiring the lowest bid from a truck that won’t be here next spring. Storm chasers follow the money. Ask how long the contractor has been standing behind local roofs, and get the workmanship guarantee in writing.
- Accepting a verbal “we’ll take care of it” instead of a written guarantee. A verbal promise is worth the paper it isn’t written on. Get the guarantee in the estimate.
- Testing during or immediately after rain. A hose test needs dry conditions and a known baseline. Testing on a wet roof tells you nothing about where the water is entering versus where it has already spread.
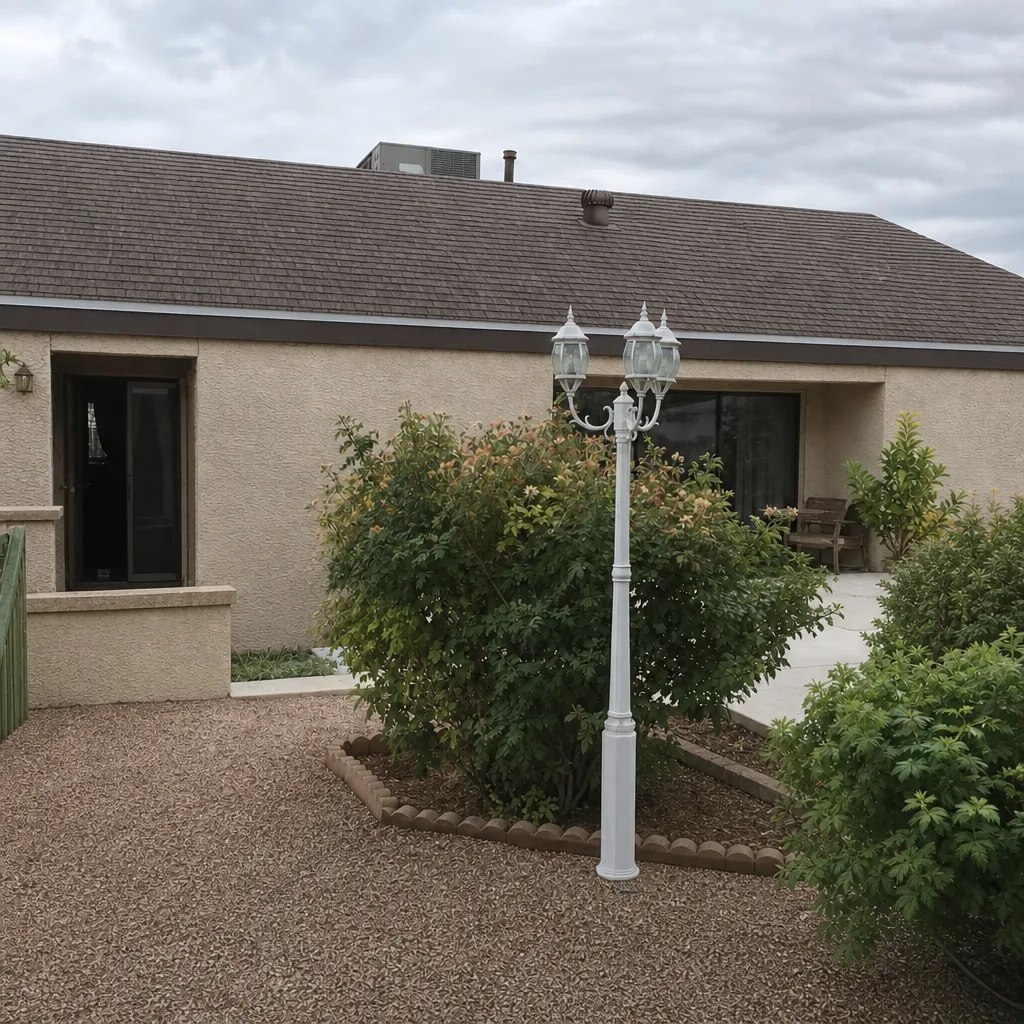
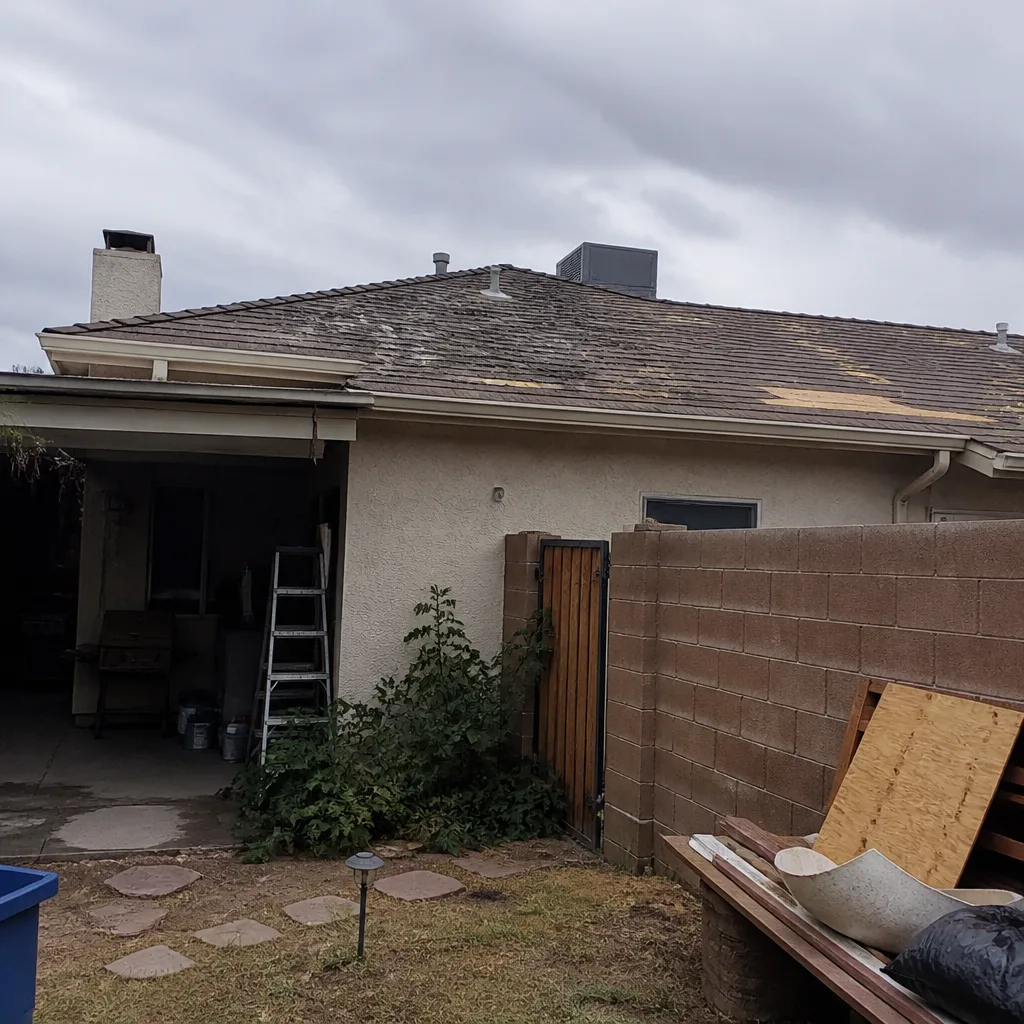
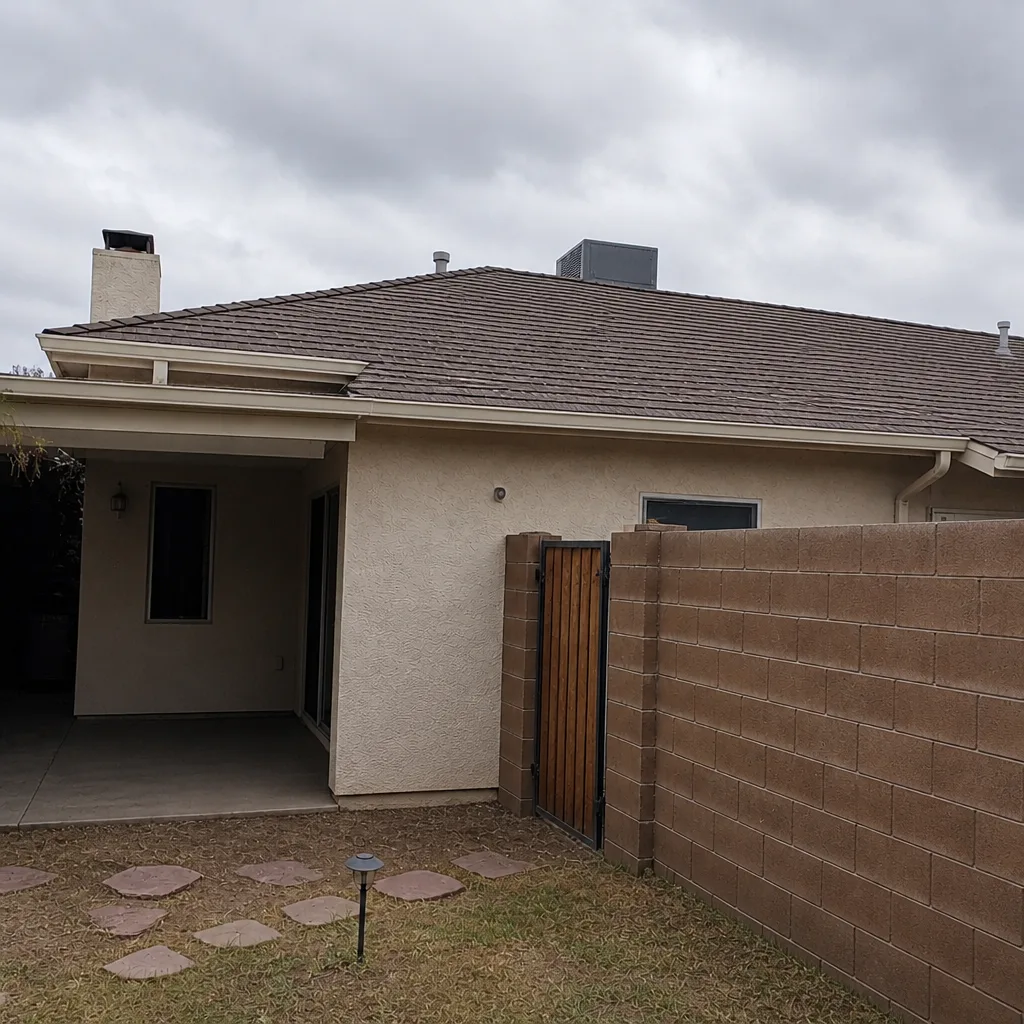
See the difference
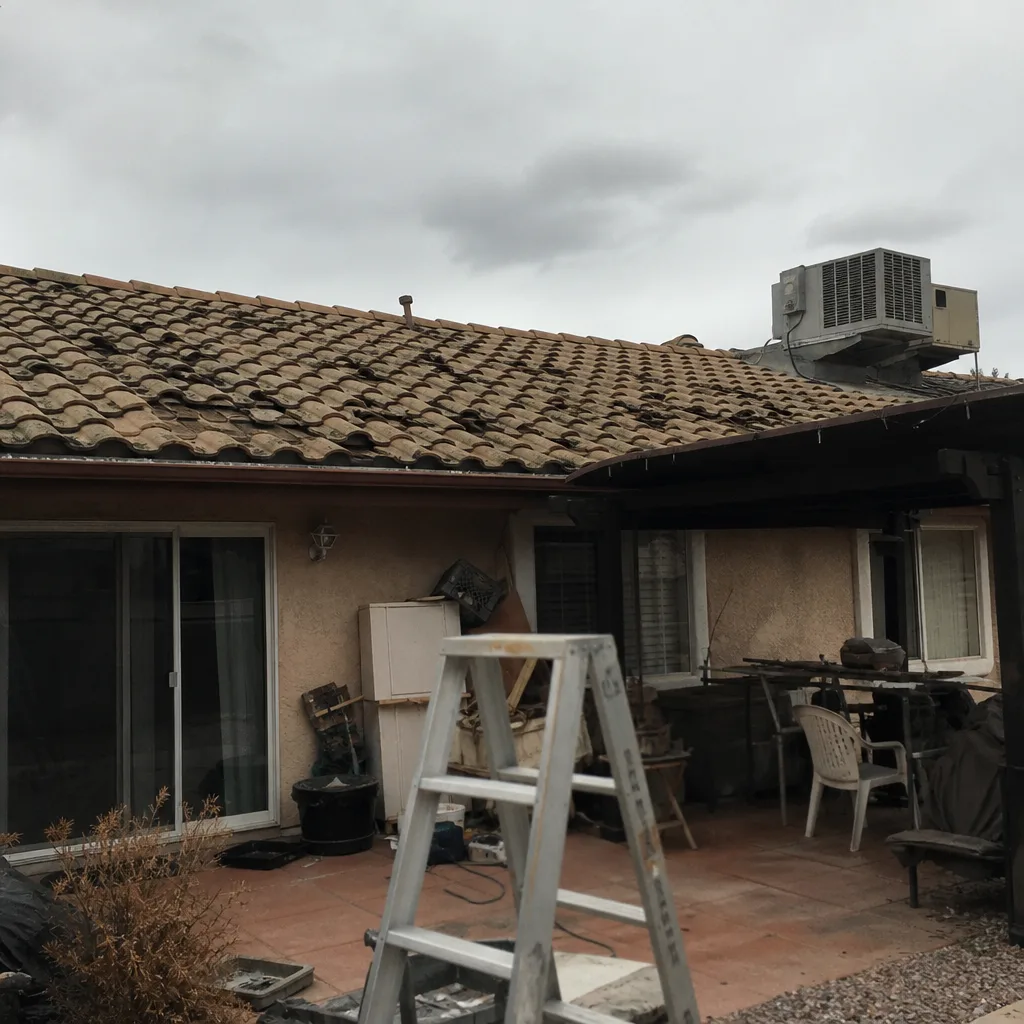 Before
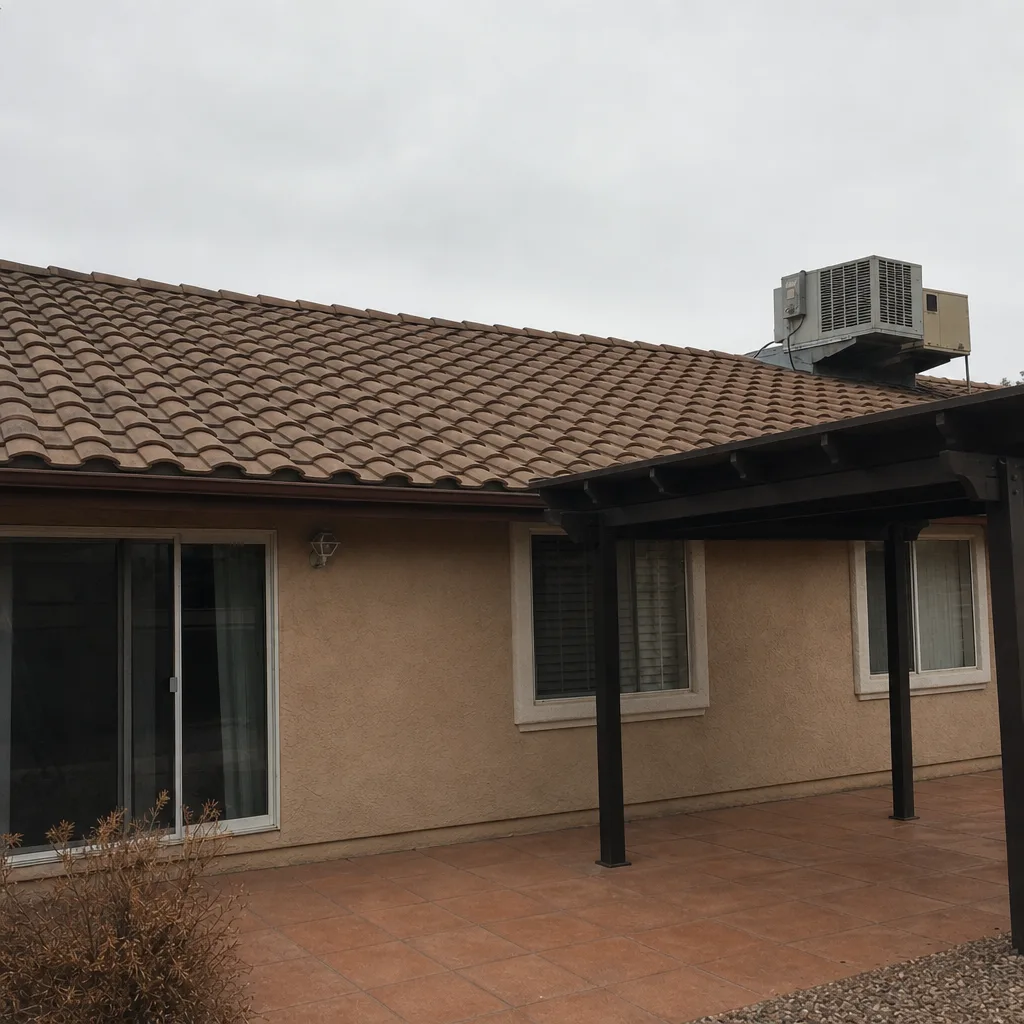 After
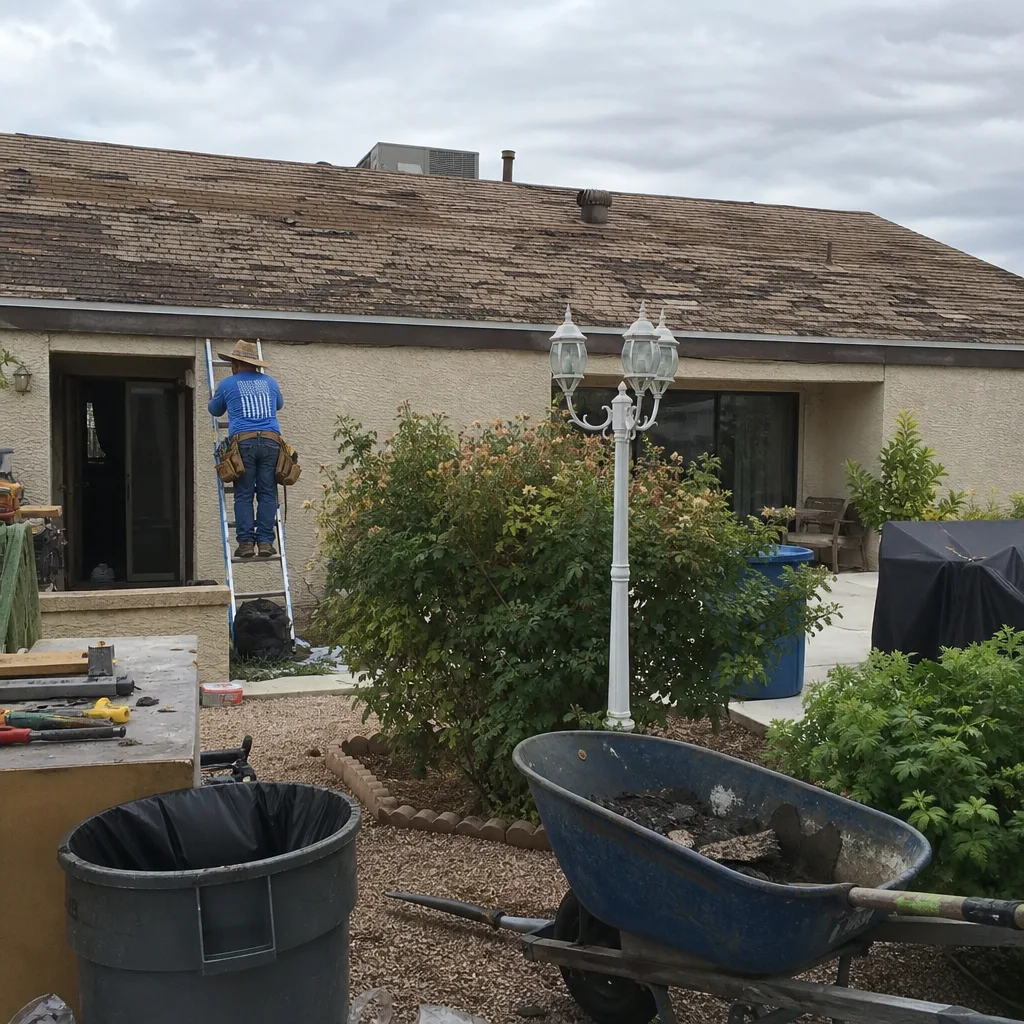 Before
 After
 Before
 After
When to Call a Professional
Call us when a leak isn’t where it looks, when water has reached the underlayment or the attic decking, when the suspected component is a valley, ridge, or sidewall flashing that requires opening finished roofing, or when a previous repair has already failed once. Call us if the roof is tile, slate, or metal and the repair involves more than a single tile. Call us if the roof is over 20 years old and could be one repair away from a full assessment. Anyone on a roof is exposed to real fall risk, and working on a roof is a job for a trained, insured professional, not a homeowner with a ladder.
Ridgeline Roofing Co. Henderson offers free estimates in Henderson and works Henderson’s tile, shingle, and specialty roofs every day. Call (833) 691-6717 for a free estimate. The phone is answered by a live person 24 hours a day, including nights and weekends, and every inspection is documented with photos from the actual roof. The price on the estimate is the price on the invoice.
Frequently Asked Questions
Start inside at the ceiling stain or attic wet spot, measure the point directly above it, and work uphill toward the ridge to find the actual entry point. Water travels along rafters and decking for six feet or more before it drips, so the breach is rarely directly above the stain. Then confirm with a controlled hose test that isolates one component at a time. Call (833) 691-6717 for an exact quote on a real diagnosis; estimates are free and inspections are documented with photos.
Most single-component roof repairs in Henderson run between $180 and $620. A pipe boot replacement runs about $180 to $320. A valley or step flashing repair runs about $320 to $620. A tile ridge cap repair with fresh underlayment runs about $450 to $900 depending on accessible linear feet. Call (833) 691-6717 for an exact quote on your roof.
No. Our price on the estimate is the price on the invoice. If we open the assembly and find more damage, we stop, show you the photos, and give you a new line-item price before doing any more work. You’ll never get a surprise number at handoff. Fixed pricing and a written guarantee are the whole point.
Yes, and it frequently does. Skylight curb flashing fails far less often than the decking and felt around it, and water entering a rafter channel several feet uphill will drip down into the opening and look for all the world like a skylight leak. A hose test on the curb and a second test on the valley above will sort the two in a single visit.
One isolated leak on a roof under 15 years old is almost always a repair, not a replacement. A roof over 20 years old with a leak in more than one area, degraded underlayment throughout, or sagging decking is worth a full assessment. Be wary of anyone who jumps straight to replacement on a single leak without documenting the rest of the roof. A square deal always starts with an honest diagnosis.
Because the mortar holding the caps has cracked, and the cap tile itself is fine. Heat cycling from 100-plus degree afternoons opens hairline cracks that look intact from the ground but are hollow underneath. A screwdriver pressed against the joint will punch through. Water gets behind the cap, runs down the underlayment, and finds a nail hole. A proper repair removes the caps, replaces compromised felt, and re-beds in fresh mortar; a dry-set ridge replacement is the longer-term fix.
The Bottom Line
Roof problems get misdiagnosed because homeowners and even some contractors fix the symptom they can see instead of the failure point that caused it. Work backward from the stain, identify the component that matches the geography, run a controlled hose test to confirm, and repair the underlayment along with the shingle. On Henderson tile roofs, look at the ridge caps even when they look fine from the ground. Document every repair with timestamped photos so nobody argues about it later. If the diagnosis points anywhere other than a single accessible component, call a professional. Ridgeline Roofing Co. Henderson offers free estimates – call (833) 691-6717 and get an honest read on your roof.
Written by the team at Ridgeline Roofing Co. Henderson.