
Last updated November 18, 2026
 Architectural shingles
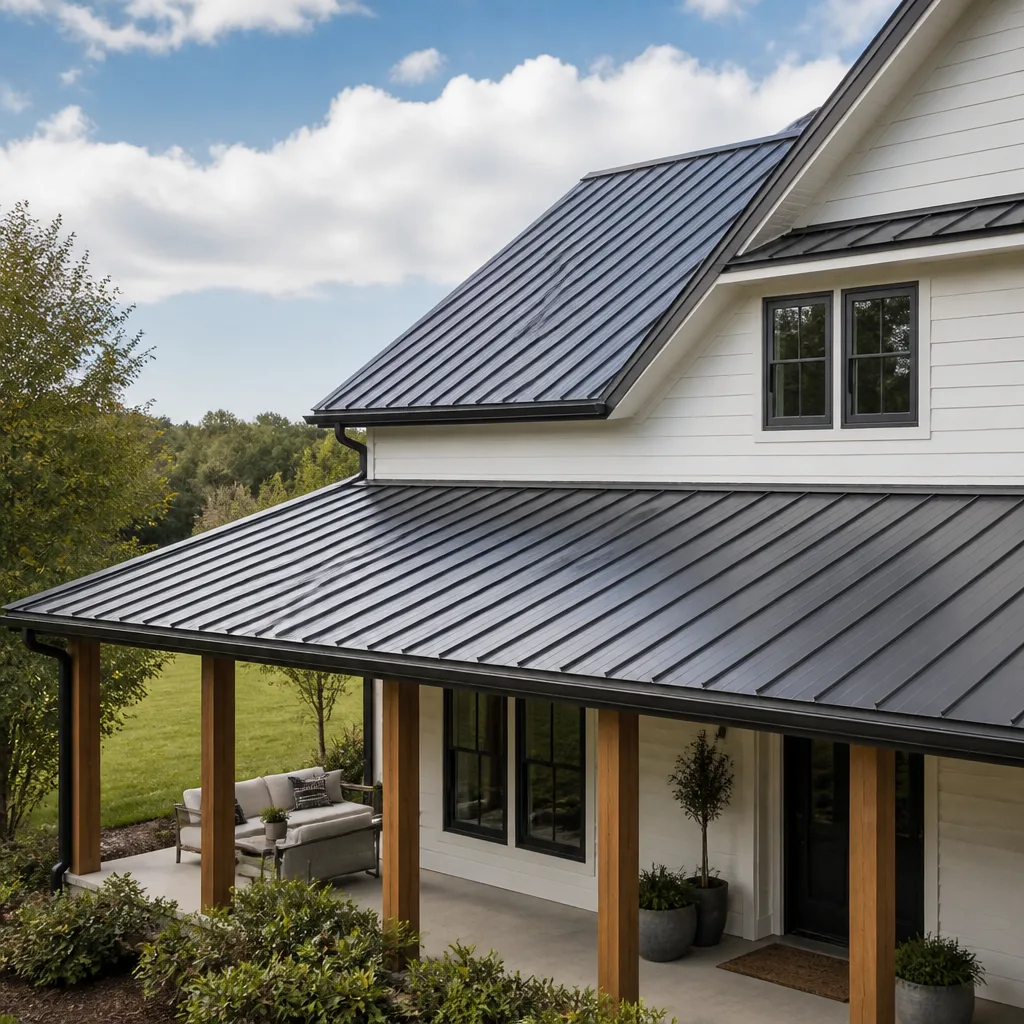 Metal roofing
 Tile roofing
 GAF
 Owens Corning
 Flat & low-slope
Free roof inspection with deck photos before we talk money - GAF and Owens Corning certified installation
Roof Replacement & Installation Maintenance Schedule: What to Do and When
A new roof is not finished the day the crew drives away. It is finished the day the materials stop moving, the sealants stop shrinking, and the roof has proven itself through a full Henderson summer and a full monsoon season. Most roofing warranties require documented owner maintenance to stay valid, but the paperwork rarely explains what “maintenance” actually means in concrete terms. It might say “keep the roof free of debris” and leave you to guess what that looks like on a hip-and-valley layout. This guide makes it specific. We’ll walk through the 30-60-90 day checks, what to look for after your first real rain event, how to inspect tile without cracking it, and how to keep a maintenance log that protects both your warranty and your resale value.
Quick Answer
A new roof needs formal inspections at 30 days, 60 days, 90 days, and again right after its first monsoon season. After that first year, a full inspection every spring and a quick visual check every fall keeps the warranty valid. The most common thing we find in a new Henderson installation is not a leak, it’s sealant that has already started to cure and pull away from pipe boots and penetration collars during year two, not year five.
Styles & brands we work with
- Architectural shingles
- Metal roofing
- Tile roofing
- GAF
- Owens Corning
- Flat & low-slope
Table of Contents
- The First-Year Maintenance Schedule at a Glance
- The 30-60-90 Day Checks: What to Look For at Each Milestone
- After the First Monsoon Season: Nine Inspection Points
- How to Inspect Tile Without Cracking Field Tiles
- When to Reseal Pipe Boots and Penetration Caulk
- Building a Maintenance Log That Protects You
- Years Two Through Five: The Schedule Settles
- Common Mistakes to Avoid
The First-Year Maintenance Schedule at a Glance
A brand-new roof is not a settled roof. The shingles or tiles are on, the flashing is in, but the materials are still going through their first thermal dance. Henderson swings from summer highs that regularly top 105°F to winter nights that drop into the thirties. Every one of those swings makes roofing materials expand and contract, and the first full cycle is when any imprecision in the installation makes itself known. The 30-60-90 framework exists so you catch small movement before it becomes water intrusion.
Here is the schedule we use as the baseline for every new installation:
- Day 30: A ground-level and attic-side visual check. Look for anything obviously off, and note fastener heads that were not fully driven or any shingle that lifted at a rake or ridge.
- Day 60: A closer inspection of all penetrations, valleys, and flashing points. This is the window where fresh sealant is still pliable enough to re-adhere cleanly.
- Day 90: The first full documented inspection, done with photographs from an on-roof position. Treat this as the formal post-installation check and file it.
- After the first monsoon season: A dedicated water-inspection of flashing, valleys, and penetrations. Details follow below.
- Month 12: The one-year anniversary inspection, which transitions you into the normal twice-yearly rhythm.
Most homeowners in Henderson have never had a formal post-installation schedule handed to them. That’s a gap in the industry, not a failure on their part. If your installer didn’t provide written inspection milestones, build your own using this framework, or call Ridgeline Roofing Co. Henderson at (833) 691-6717 to schedule a documented inspection and start the log correctly.
The 30-60-90 Day Checks: What to Look For at Each Milestone
Each milestone has a different job. At 30 days, you are looking for obvious installation misses. At 60 days, you are looking for material movement. At 90 days, you are establishing a documented baseline that protects your warranty. The format of your records matters as much as what you find.
Day 30: Obvious Installation Issues
- Shingles or tiles that lifted at the rake or ridge after the first wind event.
- Fasteners sitting proud of the surface or backed out of a tile or shingle field.
- Visible gaps at drip edge, valley flashing, or step flashing along a sidewall.
- Granule accumulation in gutters or at downspout outlets. Some loss is normal in the first month; heavy accumulation is not.
- Attic-side daylight at any penetration or vent boot.
Day 60: Material Movement Check
By the second month, most Henderson roofs have been through at least one significant temperature swing. Now you walk the penetrations and check the sealant collar on every pipe boot, every vent, every skylight curb. Press gently on the caulk bead with a plastic tool, not a finger. If it flexes cleanly and stays adhered, it’s fine. If it has already drawn away from the collar, it will need attention before the dry season ends.
Day 90: The Documented Baseline
The 90-day inspection should produce photographs from on the roof, not from the ground. The photos should be dated, should show roof sections in a consistent order, and should be filed alongside the original installation paperwork. If a warranty claim ever comes up, those photos are your proof that the roof was intact and inspected at day 90. No written inspection record means the warranty company has no reason to take your word for it.
After the First Monsoon Season: Nine Inspection Points
The first real rain event is the truest test your new roof will ever face. Desert rain in Henderson is not gentle. It arrives hard and fast, often after months of dry, and the flash runoff can pool in valleys and behind the flashing that carried no water at all during installation. Here’s the specific list we walk after the first monsoon season on any new roof in the area.
- Valley seams. Walk the full length of every valley and look for standing water marks after the storm has passed. A properly pitched valley should drain clean within a few hours.
- Step flashing at sidewalls. Water stains on the wall stucco below the roofline are a sign the flashing is not seating correctly behind the wall cladding.
- Counterflashing at brick or stucco walls. Check that the reglet is sealed and that the counterflashing cap has not lifted from the wall.
- Pipe boots. The neoprene collar should still be snugly seated around each pipe with no gap. Sun and first rain combine to test the seal.
- Skylight curb flashing. Look for streaks on the interior drywall around the skylight opening after the storm.
- Ridge cap shingles. Ridge caps are the most exposed element and the first to lift in a cross-wind. Check that none have loosened.
- Drip edge. Water should be releasing cleanly, not wicking back under the edge and staining the fascia.
- Gutter and downspout flow. Full flow-through, no overflow at the seams. A gutter that backed up during a hard rain is either pitched wrong or undersized for your roof area.
- Attic-side inspection. Get a flashlight and look at the underside of the sheathing along every valley and penetration. Water stains on the underside board are the earliest sign of intrusion.
If any of these turn up a problem, take photographs immediately and call us. A flashing issue found the week after monsoon is a repair; a flashing issue found next spring is often a drywall and insulation project.
How to Inspect Tile Without Cracking Field Tiles
Tile roofs in Henderson are common on older neighborhoods and on newer custom builds where the homeowner wanted the look and longevity. They are also the roof type most likely to be damaged by an untrained inspector. Field tiles crack because someone stepped on the wrong part of the overlap, not because the tile was weak. The protocol we use for walking a tile roof:
- Walk the flat lay, not the high point. Tiles are strongest where they overlap; place weight on the lower third of the tile, never on the exposed upper nose.
- Stay on walking boards. For anything beyond a quick flash-check, our technicians use foam or plywood walking boards that distribute weight across several tiles.
- Never step in a valley. Valley channels on a tile roof are often lined with thinner metal or underlayment that a footfall will distort.
- Inspect after the roof is cool. Tiles are brittle in high heat. Henderson summer afternoons are the worst time to walk any tile roof; early morning is safer for both tile and technician.
- Use a soft pull on the hip and ridge. Never lever against a field tile. If a tile is loose, work it up from underneath, not against the neighboring tile.
If you are not accustomed to walking a tile roof, do not practice on your own. Cracks that result from foot traffic are almost never covered by a manufacturer warranty, and Boral and other tile makers will look at break patterns before they approve a claim. A trained inspector knows the difference between a field crack from installation and one caused by walking. This is also why we photograph every tile inspection and record the date: if a crack later shows up, the record shows whether it existed on our inspection day.
When to Reseal Pipe Boots and Penetration Caulk
If you take one thing from this guide, take this: Henderson’s heat cycle initiates the first caulk shrinkage in year two, not year five. The common assumption is that a sealant rated for a decade will last a decade. In practice, the UV load here and the daily 30-40° swing in early summer and late fall work on caulk faster than the manufacturer’s lab suggests. What holds for a decade in a temperate climate can pull away from the collar by the end of the second summer here.
The practical rule we use:
- Pipe boots: Inspect at 30, 60, 90 days, and again after the first monsoon. After year one, check them every spring. Expect the first reseal at year two.
- Penetration caulk (vents, skylight curbs, wall junctures): Inspect at the one-year mark and every year after. Expect active maintenance by year three on southern and western exposures, which take more UV load.
- Metal flashing laps: Inspect annually. Flashing itself rarely fails; the sealant lap does.
This is the work that most homeowners skip and most roof failures trace back to. A $15 tube of proper sealant and a documented reseal is a five-year extension on your pipe boots; ignoring it turns the same issue into a drywall repair inside the house. Our technicians use manufacturer-approved sealants matched to your specific roof system, whether that’s a GAF shingle, a CertainTeed system, or a clay tile installation, so the next reseal actually lasts.
Building a Maintenance Log That Protects You
A maintenance log is a small thing that does two jobs at once. During ownership, it protects your warranty by showing a documented pattern of care. At sale, it does something a new roof alone cannot: it tells a buyer exactly what has been done and when. In our experience, a home with a complete roof log closes with fewer repair credits than an identical home without one, because the buyer is not negotiating from fear.
Here is what every entry should contain:
- Date and time of the inspection or service.
- Who performed it (contractor, technician, or homeowner). A name is not required, but the company and a job reference are.
- What was inspected. List the specific points, not just “roof.”
- Findings. Note anything that was fine and anything that was addressed. Both matter.
- Photos. On-roof photographs, taken in consistent order, dated.
- Materials used. Brand and product line on any repair or reseal.
- Invoice or warranty reference if the work was covered under warranty.
Something as ordinary as a spreadsheet on your computer, with a folder of dated photos, will do the job. A three-ring binder with plastic sleeves works just as well and is easier to hand a buyer at a showing. The format matters less than the consistency. Missing years in a log are much harder to explain than a log that simply says “no issues found.”
Every Ridgeline Roofing Co. Henderson inspection comes back to you with the photographs attached and a written record of what we saw and what we recommend. That’s part of the work being done right, not an extra. If you have moved into a Henderson home with a recent roof and no log, call (833) 691-6717 and we’ll do a baseline inspection and start the record for you.
Years Two Through Five: The Schedule Settles
Once the roof has been through its first full year, the maintenance rhythm settles into something simpler. The materials have finished their initial curing and movement. What remains is seasonal inspection and prompt response to anything unexpected. This is also the period when the wrong installer lets go. A roof installed with a shortcut in the flashing detail, or with fasteners that don’t reach the sheathing through a thicker layer, will often reveal itself in year two or three. That’s why a written workmanship guarantee matters more than a long manufacturer warranty: manufacturers cover their material, not the hand that put it down.
We built the 90-Day Done Right Promise around this exact window. If something is not right on a Ridgeline Roofing Co. installation, we come back and make it right, with no paperwork runaround. After that window, our inspections, reseals, and repairs are still backed by the same straightforward pricing: the number on the estimate is the number on the invoice.
Common Mistakes to Avoid
- Skipping the day-90 documented inspection. By the time a warranty claim is needed, the day-90 window is long past and irreplaceable. Photographs taken then are the strongest evidence you can hold.
- Treating “no leak” as “no problem.” Most roof issues in Henderson show up as caulk pulling away or flashing drifting long before they show up as water on a ceiling. The 30/60/90 framework catches the problem in that gap.
- Walking tile after morning coffee on a July afternoon. Field tile cracks are almost always foot-traffic injuries taken in the heat of the day. If you walk the roof at all, do it early and softly.
- Using any silicone caulk from the hardware store on a new roof. The wrong sealant on a GAF or Owens Corning system will not bond, will not hold through the first Henderson summer, and can void a portion of your warranty if it interferes with a repair.
- Assuming the manufacturer warranty covers installation. It usually doesn’t. Only a written workmanship guarantee covers the way the roof was installed, and even a good one is time-limited.
- Waiting until year five to check pipe boots. The heat cycle here accelerates caulk shrinkage, and by year five what looked fine at installation may already be the source of a slow interior leak.
- Keeping the log on your phone alone. A maintenance log has to travel with the house. Back it up somewhere you can hand over at a sale, or keep a paper binder with the roof paperwork.
See the difference
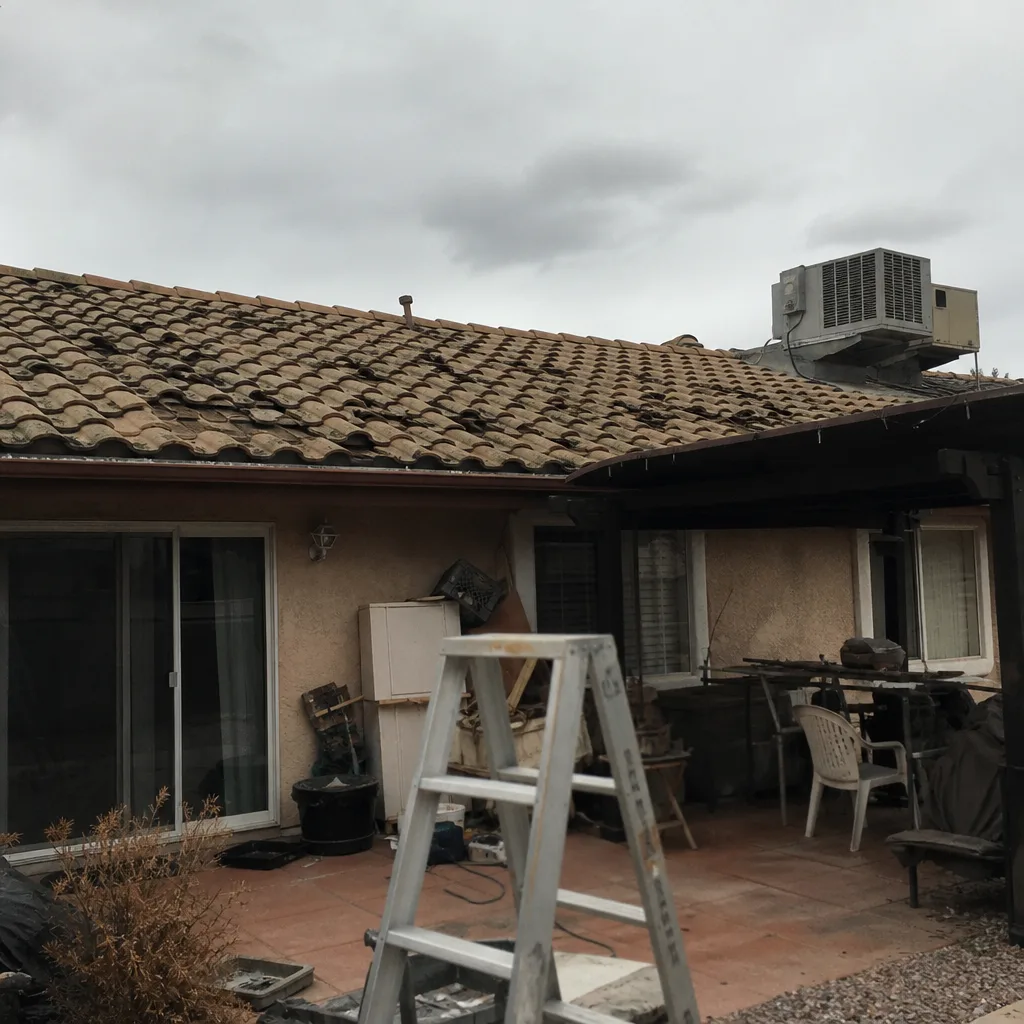 Before
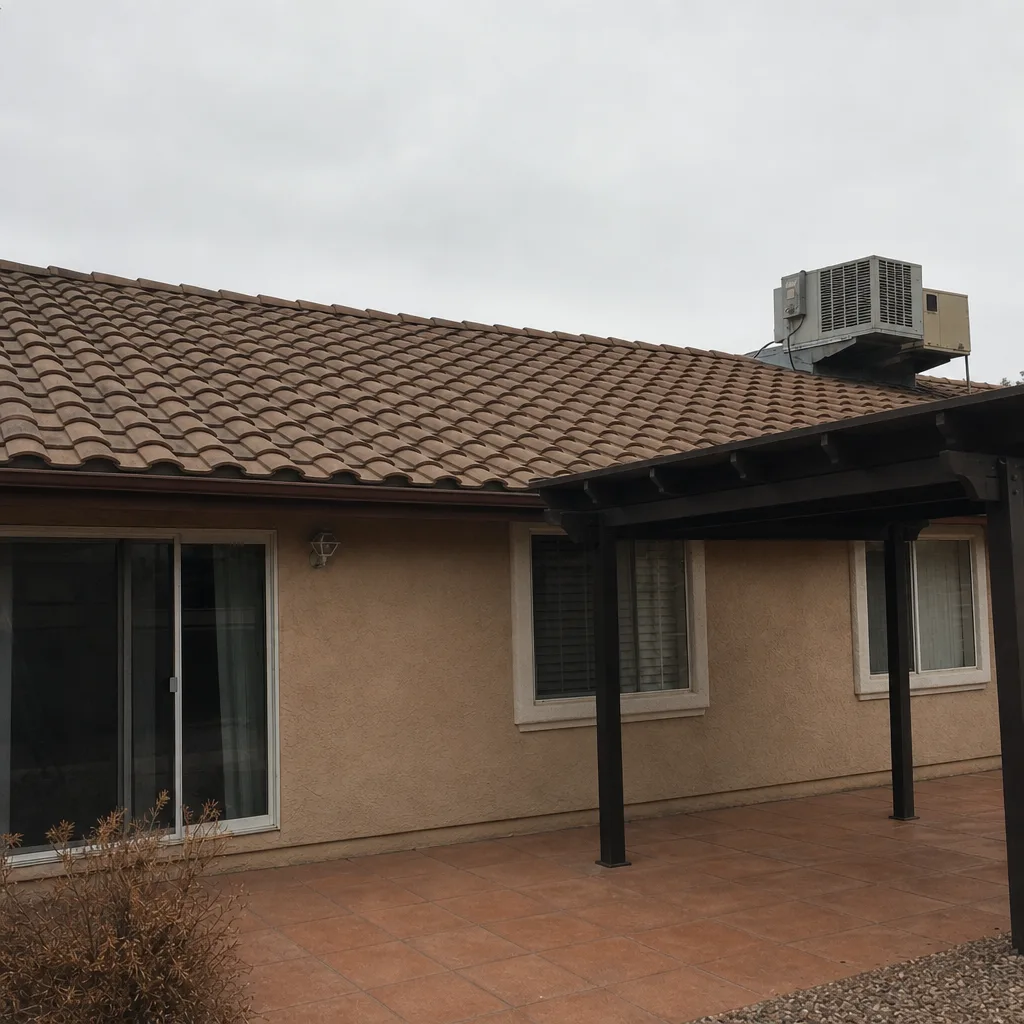 After
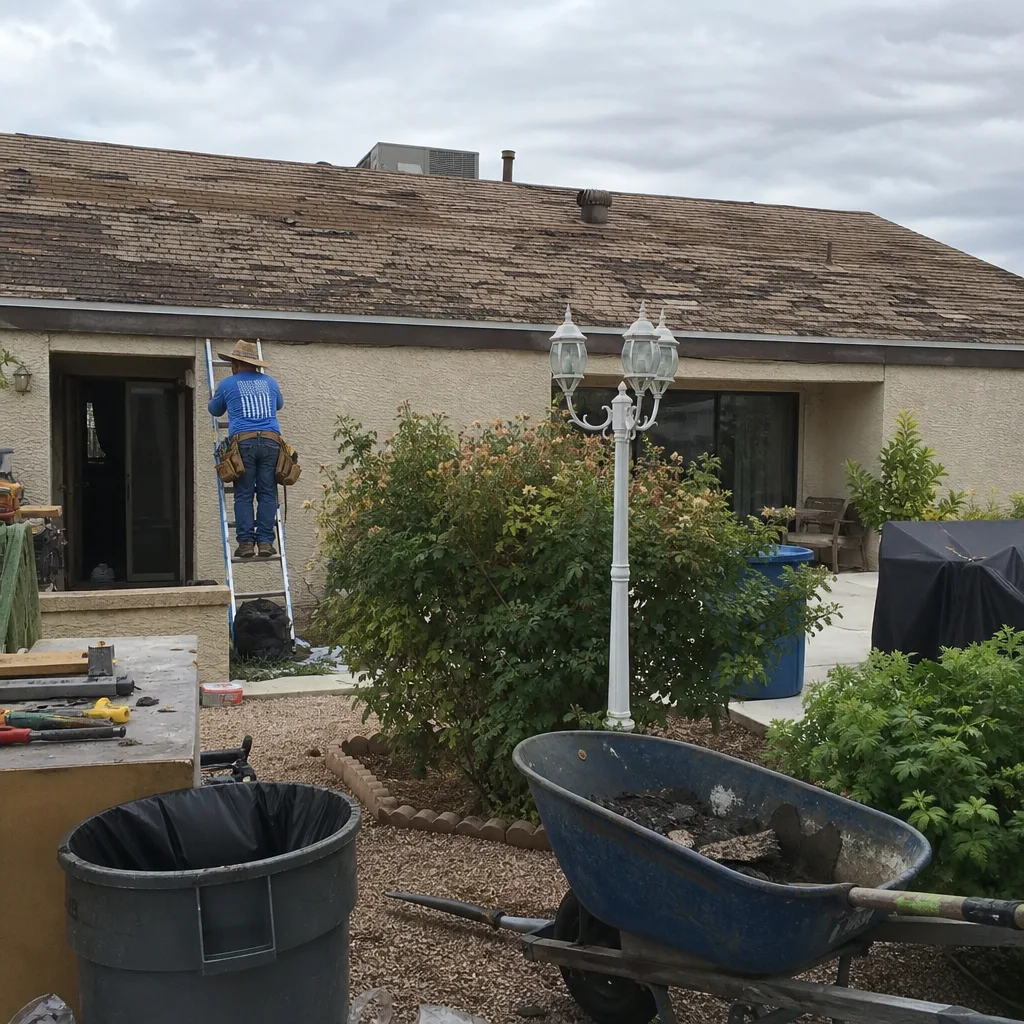 Before
 After
 Before
 After
When to Call a Professional
Some inspections you can do from the ground with binoculars. Others belong on the roof with a trained technician and a camera. Call a professional when you see any of the following: shingles or tiles lifted at the ridge after a wind event, water stains on the ceiling near a valley or skylight, granular loss in the gutters months after installation, caulk that has visibly pulled away from any pipe boot or penetration collar, or daylight visible in the attic around any opening. Call us if a monsoon event has passed over the house and you are not sure whether the flashing held. Ridgeline Roofing Co. Henderson offers free estimates in Henderson, and our 24/7 line means you reach a live person rather than a voicemail tree when it matters. Call (833) 691-6717 to schedule an inspection, get a written second opinion on any estimate you already have, or start a maintenance log for a recently completed roof.
Frequently Asked Questions
A new roof should be formally inspected at 30, 60, and 90 days, and again after its first monsoon season. After that first year, a full fall inspection and a lighter spring visual check keeps things on track. The 30/60/90 cadence catches material movement and sealant curing while it is still easy and inexpensive to address. Call (833) 691-6717 if you need help setting up that first-year schedule.
In practical terms, it means you can prove the roof was inspected on a reasonable schedule and that any issues found were addressed promptly. A log with dates, findings, and dated photographs from on the roof is what a warranty company will ask for. A verbal claim that you “kept an eye on it” is not enough. If you want a professional baseline inspection with photo documentation, call Ridgeline Roofing Co. Henderson at (833) 691-6717.
In our experience, Henderson’s heat cycle typically initiates the first real caulk shrinkage in year two, not year five. The UV load and the 30-40° daily swing in early summer and late fall pull sealant away from penetration collars faster than a temperate climate would. Plan the first reseal of pipe boots and penetration caulk at year two, and check annually after that. Call (833) 691-6717 for a documented reseal that matches your specific roof system.
A documented post-installation inspection from a licensed contractor typically runs $150 to $300 in the Henderson market, and many installers include the day-90 and monsoon checks in the original job. Ridgeline Roofing Co. Henderson includes documented inspections on our installations at no additional cost, and we offer a free second opinion on any written estimate another contractor has given you. Call (833) 691-6717 for an exact quote.
Ground-level visual checks with binoculars are safe for any homeowner. Any inspection that requires walking the roof, particularly a tile or steep-pitch roof, belongs with a trained professional. The risk of a fall or a cracked field tile is not worth what you save. If you are not sure whether the situation calls for a professional visit, call (833) 691-6717 and we’ll help you decide over the phone at no charge.
Yes. A complete roof log frequently reduces repair credits in a sale negotiation, because the buyer is not guessing about the roof’s history. In our experience, a home with dated photographs, findings, and reseal records closes with less friction than an identical home with no documentation. If you need a professional baseline inspection to start the log, call (833) 691-6717. Estimates are free.
The Bottom Line
A new roof is only as valuable as the maintenance that follows it. The first year is the most important one: 30-60-90 day inspections catch material movement and curing problems while they are still easy to fix, the first monsoon season confirms whether the flashing seals truly held, and a documented log turns routine care into a warranty protection tool and a resale asset. By year two, expect the first caulk reseal on penetration collars, because Henderson’s heat cycle does not wait for year five. Hire a contractor who will document every inspection with photographs and back the workmanship in writing. The roof is one of the few things on a house you should never have to think about twice, and a written schedule is how you get there.
Written by the team at Ridgeline Roofing Co. Henderson.