
Last updated November 18, 2026
 Architectural shingles
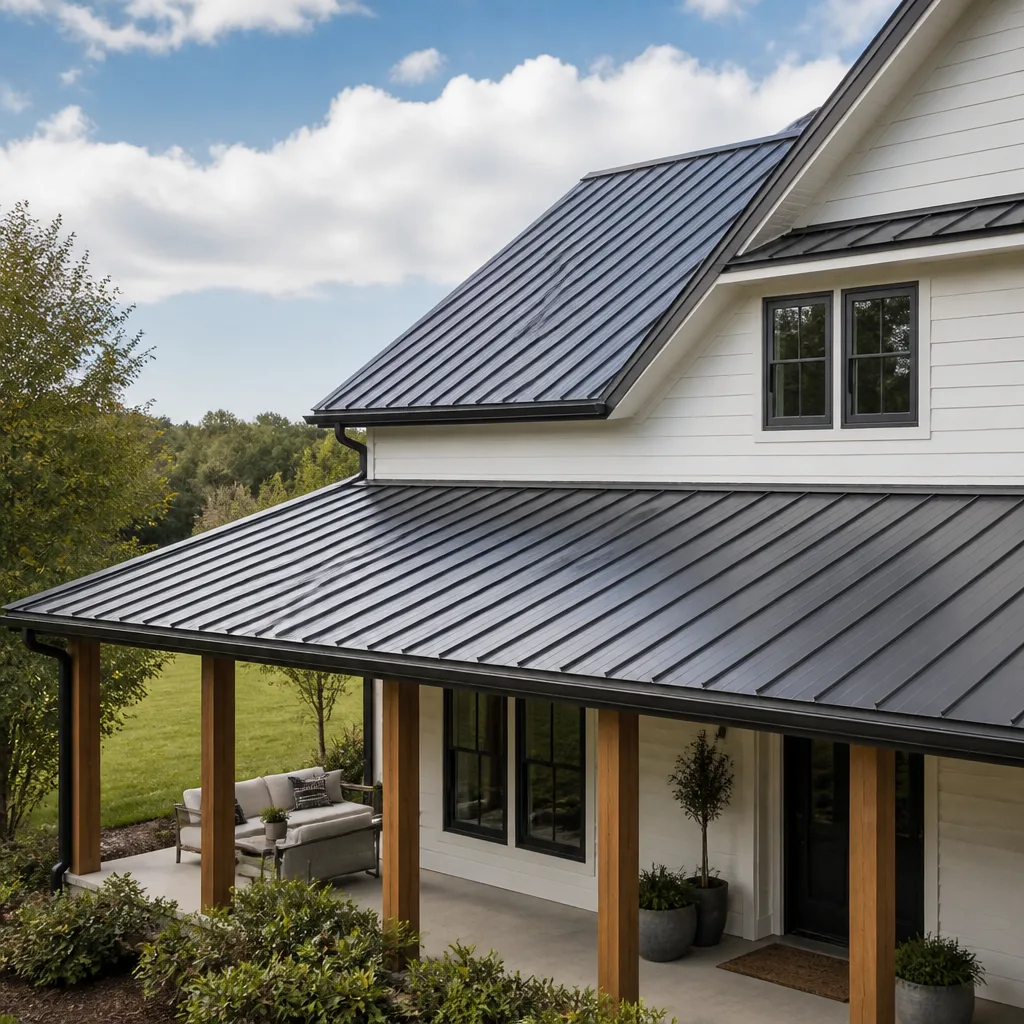 Metal roofing
 Tile roofing
 GAF
 Owens Corning
 Flat & low-slope
Free roof inspection with deck photos before we talk money - GAF and Owens Corning certified installation
Roof Replacement & Installation Troubleshooting: Common Problems and How to Fix Them
A new roof that leaks isn’t always a material defect. More often it’s an installation error at a flashing transition or a penetration seal, and the only way to catch it is to know exactly where to look during the first season. Most of these faults are visible within 90 days, and most disappear from view once they’re buried under fascia and siding. The three biggest culprits we see on Henderson roofs are incorrect head-lap on tile, mortar-set ridge caps with no mechanical fasteners, and under-driven nails in the field tiles near the eave. This guide gives you the inspection language and the checklist to hold a contractor accountable before your warranty window closes.
Quick Answer
Most problems with a new roof installation come from workmanship, not materials: laps that are too short, ridge caps set in mortar without screws, flashing that was never woven into the shingle course, and nails driven so deep they cut through the tile face. Check your roof within the first 90 days, photograph every flashing transition and penetration, and put any defect in writing to the installing contractor. Your warranty covers workmanship; the manufacturer covers the material, and the two claims work differently.
Styles & brands we work with
- Architectural shingles
- Metal roofing
- Tile roofing
- GAF
- Owens Corning
- Flat & low-slope
Table of Contents
- The five most common installation errors on Henderson tile roofs
- How to spot improper flashing before you’ve had a single rainstorm
- What improper ventilation balance looks like after installation
- The documentation you need before final payment
- How to escalate a warranty claim properly
- Why the first monsoon season in Henderson is the real test
- A 12-point walk-around checklist for your first 90 days
The Five Most Common Installation Errors on Henderson Tile Roofs
Clay and concrete tile dominate the rooftops in Green Valley and Anthem, and tile has its own rules. The failures we see rarely come from bad tile. They come from shortcuts that only show up months later, usually after a hard wind or the first real monsoon storm.
- Incorrect head-lap. The overlap between courses needs to match the manufacturer’s specification. Short laps let wind-driven rain push underneath. If the tile doesn’t cover enough of the course below, water gets a path it shouldn’t have.
- Mortar-set ridge cap without mechanical fasteners. We’ve seen ridge caps held only by mortar. Mortar cracks in Henderson’s heat, and when it does, the caps come loose. Every ridge cap needs screws or nails along with the mortar bed. This one is worth pulling out binoculars for.
- Under-driven nails in field tiles near the eave. Nails that don’t sit flush leave the tile perched and the nail head exposed to water. Overdriven nails crack the tile face. Either way, the eave course is the first to go.
- Skipped fasteners on perimeter tiles. The wind zone on a Henderson roof is the perimeter, and if the installer saves time on the rake and eave courses, those are the first tiles you’ll lose.
- Sealed penetrations with caulk only. Pipe boots and vent penetrations that are caulked instead of properly flashed and sealed will fail within a season or two. Caulk is not a flashing.
If you hired a crew you trusted and want a second set of eyes, a roof repair in Henderson inspection is a fair way to check installation details before they turn into leaks. Know what to ask for: a photo log taken from your actual roof, not the driveway.
How to Spot Improper Flashing Before You’ve Had a Single Rainstorm
Flashing is the metal where roof meets wall, valley, chimney, or vent. It’s the most important detail on any roof, and it’s the one most often done wrong. The good news: you can inspect it before a drop of rain falls. You need a ladder for the low sections and a pair of binoculars for the rest.
- Exposed fasteners. Flashing should be nailed at the top edge and covered with the next course. Fastener heads visible in the middle of the flashing will rust and pull free.
- No kick-out flashing at wall transitions. Where a sloped roof meets a sidewall, the last piece of step flashing needs a kick-out to divert water into the gutter. Without it, water runs down the wall and rots the siding and fascia. Look at the bottom corner where the roofline meets the wall and gutter. No kick-out? That’s a problem.
- Step flashing that isn’t woven into the shingle course. Each step flash needs one piece under the shingle above and over the shingle below. If it’s nailed flat against the wall as a single strip instead of stepped, water has a straight path behind it.
- Valley metal that’s too narrow. A shallow valley on a Henderson roof may need a wider metal pan. If the valley metal ends short of the eave, water will spill onto the fascia.
- Chimney counter-flashing lagging behind. The counter-flashing needs to be cut into the masonry, not surface-sealed with caulk.
The fastest check is to ask your contractor for the mid-job photo log. Flashing is the reason we document every transition during installation. If the crew didn’t photograph it, that’s a signal worth paying attention to.
What Improper Ventilation Balance Looks Like After Installation
A roof vent system has two halves: intake at the soffit and exhaust at the ridge. Get the balance wrong, and the roof fails from the inside out. In Henderson, where summer attic temperatures routinely climb past 150°F, bad ventilation shortens shingle life by 20 – 30%. That’s not a small margin. It’s the difference between getting 20 years out of a shingle and getting 14.
Here’s how to spot an unbalanced system after install:
- Attic stays hot after dark. A properly vented attic cools within an hour of sunset. If yours still feels like an oven at 10 p.m. in July, exhaust is the problem.
- Condensation on the underside of the deck. Check the roof sheathing during the winter months. Weeping on the underside of the plywood means the attic is trapping moisture from the house.
- Soffit vents blocked by insulation. If the installer pushed insulation up against the soffit, the intake side is dead. Look at the soffit line from underneath and check for insulation baffles.
- Ridge vent installed on a roof with no intake. A ridge vent needs air to pull from somewhere. If the soffit vents are blocked or missing, the ridge vent does nothing.
- Too many exhaust vents. A mix of ridge, box, and turbine vents close together can short-circuit airflow instead of improving it.
If your attic is hot and the vents look right, the ventilation math may still be wrong for the square footage. A specialty roofing in Henderson evaluation can measure intake-to-exhaust ratio and recommend the right fix.
The Documentation You Need Before Final Payment
Final payment is your last bit of leverage on any roof replacement. Before you write the check, you should have three sets of photos and one signed document. If the contractor resists, that’s your answer.
- A photo log of deck condition before installation. Every sheet of sheathing should be photographed before the underlayment goes down. If the deck had soft spots or rot, the photos show what was replaced and why.
- Flashing installation photos taken mid-job. Step flashing, kick-outs, valley metal, and chimney counter-flashing. Not after the job, during.
- Completed penetration seal photos. Every pipe boot, vent, and skylight sealed and photographed after the sealant cured. This is your proof for a warranty claim later.
- A written workmanship warranty with the term and the exclusions spelled out. Material warranties from GAF, IKO, or Tamko cover the shingle, not the labor. You need both, in writing, with the claim procedure clear.
These aren’t unusual requests. Any contractor who documents their own work, as we do on every Henderson job, hands these over without being asked. Ask anyway. The ask is what filters the crews that will be in town next spring from the ones that won’t.
How to Escalate a Warranty Claim Properly
There are two kinds of warranty claims, and homeowners often file the wrong one. A manufacturer defect claim covers the shingle or tile itself: granule loss, manufacturing flaws, blistering across the whole roof. A workmanship claim covers the installation: laps, fasteners, flashing, and seals. The key distinction is that your contractor is responsible for workmanship. The manufacturer is responsible for the material. When you file the wrong one, you get bounced back and forth while the roof degrades.
To escalate a workmanship claim properly:
- Photograph the defect with a ruler or coin for scale, and note the date.
- Send the photos in writing (email or letter) to your installing contractor, stating the defect, the date, and what you want fixed.
- Reference the workmanship warranty by name and its terms.
- Keep a written log of every call, including who you spoke to and what they said.
- If the contractor won’t respond, move to your state contractor licensing board and file a formal complaint. In Nevada, workmanship claims are handled through the licensing board when the contractor won’t return.
A written 90-Day Done Right Promise, which we issue on every job, exists so this process never has to happen. If it isn’t right, we come back and make it right. No paperwork, no arguing. But if you’re working with another contractor, get the warranty in writing before the job starts, not after.
Why the First Monsoon Season in Henderson Is the Real Test
Henderson averages around four inches of rain a year, but almost all of it arrives in summer monsoon bursts. A single July storm can drop an inch in under an hour. That storm tests the roof in a way that 300 dry days cannot. The flashing that looked fine in April shows its true colors in July. The ridge cap mortar set on a 105°F day cracks in the first cool night after the storm.
That’s why we recommend every homeowner walk the roof (or have it walked) after the first monsoon, and again after the first Santa Ana wind event. Check these three spots:
- Under the ridge cap for loose or shifted caps.
- Under every pipe boot and vent for dampness on the decking.
- At every wall transition for staining on the stucco and fascia.
If you’re in Anthem, Green Valley, or the older neighborhoods near downtown, our roof replacement and installation in Henderson crews work these areas regularly and know which facades and orientations fail first. Call for a document-the-roof inspection before the season turns over.
A 12-Point Walk-Around Checklist for Your First 90 Days
You don’t need a roofing background to catch most installation problems. You need a spreadsheet and 45 minutes. Here’s the checklist we give homeowners after a new roof in Henderson goes on.
- Photograph the full roof from four sides on day one. Date the photos.
- Photograph every flashing transition (wall, chimney, valley) mid-job or immediately after.
- Confirm ridge caps are screwed or nailed, not mortar-only.
- Confirm no exposed fastener heads are visible on flashing.
- Confirm kick-out flashing at every sidewall-to-gutter transition.
- Confirm soffit vents are clear of insulation and baffles are installed.
- Look at the eave course for under-driven or overdriven nails.
- Check under all pipe boots and vent penetrations for daylight or dampness.
- Check the attic during the hottest part of the day for heat and condensation.
- Re-check all flashing after the first rainstorm, with photos.
- Re-check ridge caps after the first wind event over 30 mph.
- File all photos and the warranty documents in one folder, and note every phone call and date.
If anything on the checklist fails, log it and call your contractor in writing. The first 90 days are when fixes are cheapest and least disruptive. After that, the fix may mean tearing into completed work. We see this every season, and it’s the reason our crew documents every roof from start to finish. Learn more about Ridgeline Roofing Co. Henderson home and the process we follow.
Common Mistakes to Avoid
- Paying the final invoice before the documentation is complete. Once you pay, you lose leverage. Hold the final payment until you have the photo log and the written warranty in hand.
- Filing a manufacturer claim for a workmanship defect. Missing laps and bad flashing are the installer’s responsibility, not GAF’s or IKO’s. File the right claim or you’ll lose months.
- Trusting the driveway visual. A roof looks finished from the street. Every real defect lives at a transition, and transitions are only visible up close.
- Skipping the post-monsoon inspection. In Henderson, one July storm will find every flashing weakness on the roof. Walk it after the first rain, not before.
- Accepting a verbal warranty. Get the term, exclusions, and claim procedure in writing. If your contractor won’t put it on paper, that tells you something.
- Covering soffit vents with insulation to “keep heat in.” This kills the intake side of the ventilation system and shortens shingle life. Never block soffit vents.
- Letting a ridge cap sit on mortar only. Mortar cracks in Henderson’s heat cycles. Ridge caps need fasteners along with the mortar bed, every time.
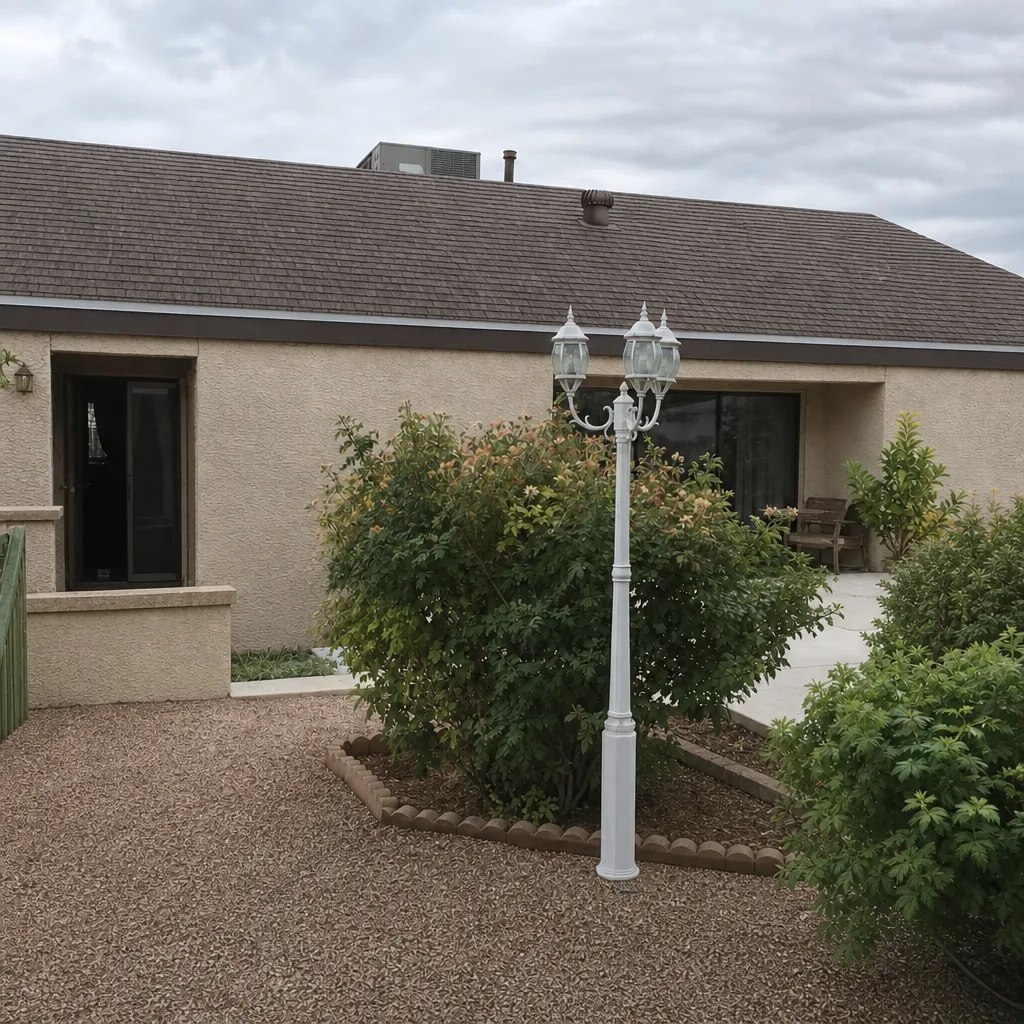
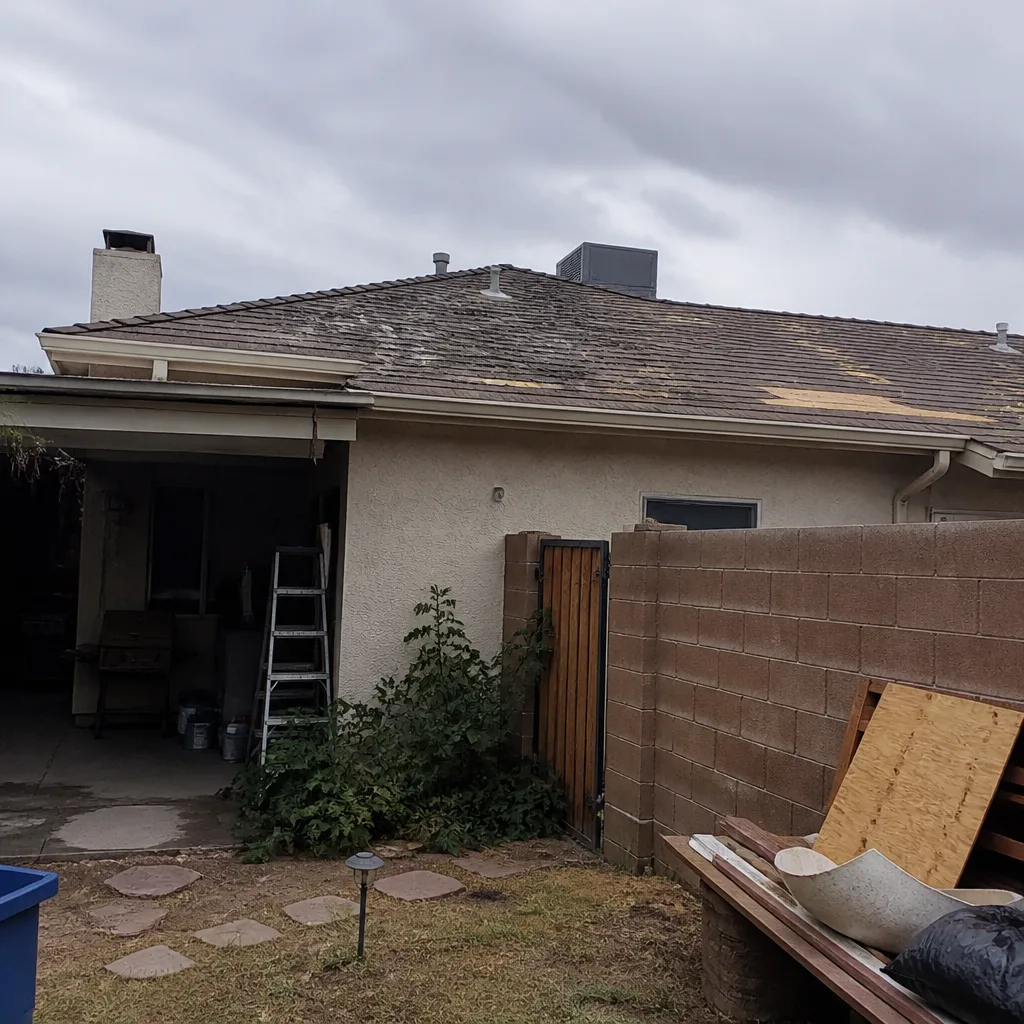
See the difference
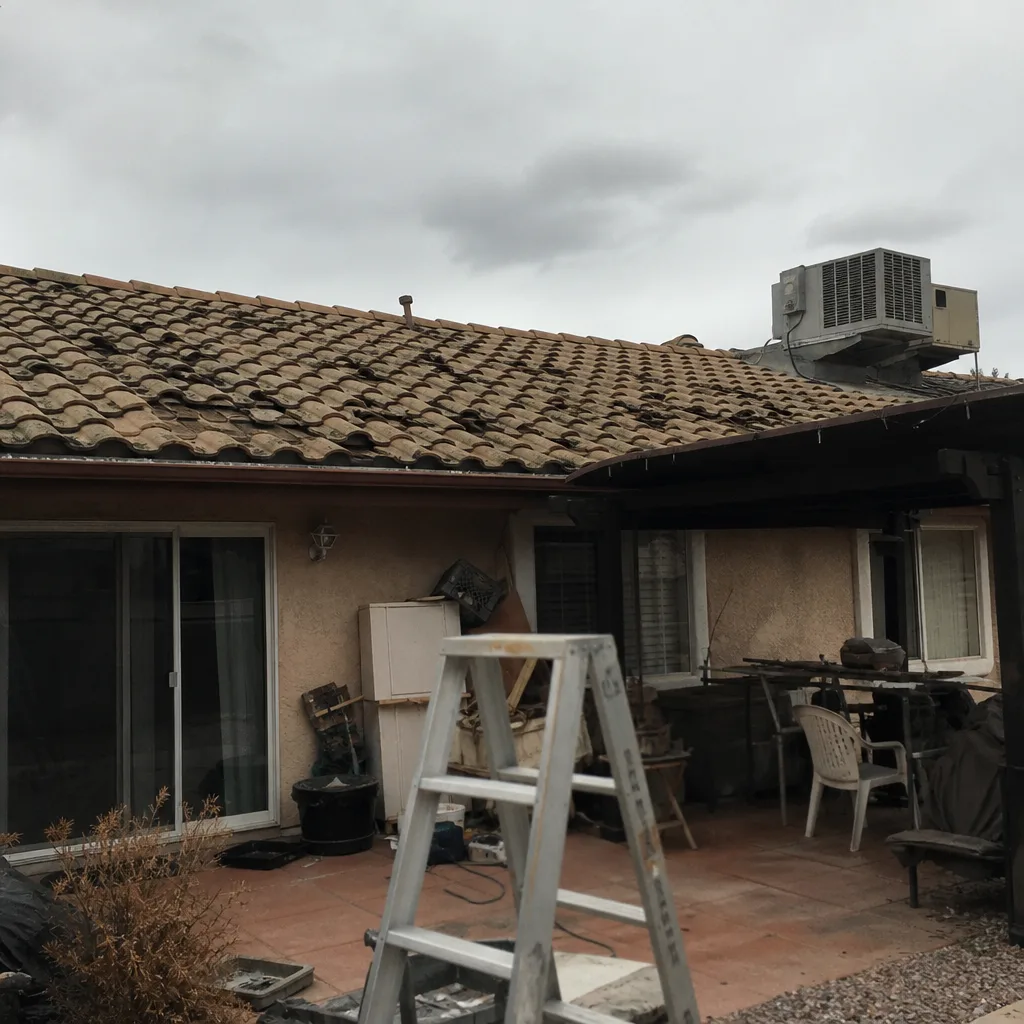 Before
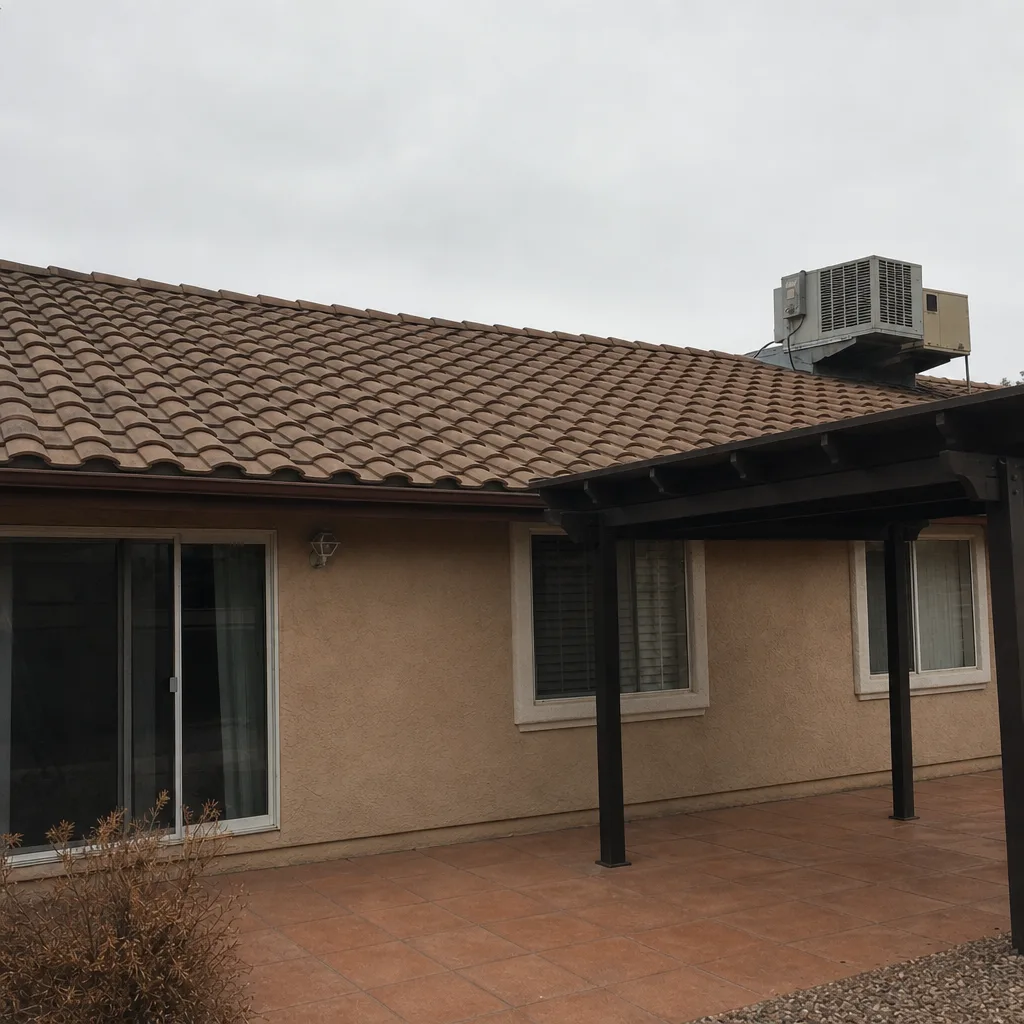 After
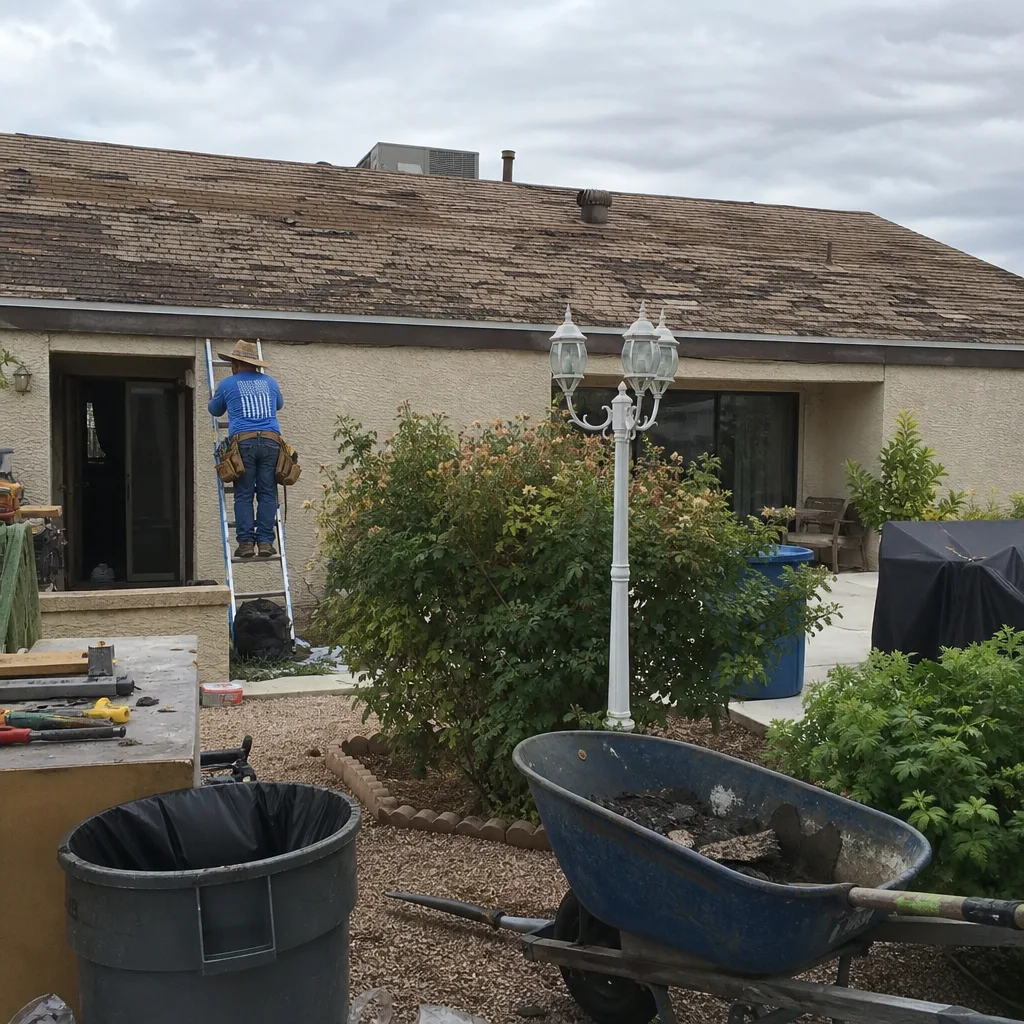 Before
 After
 Before
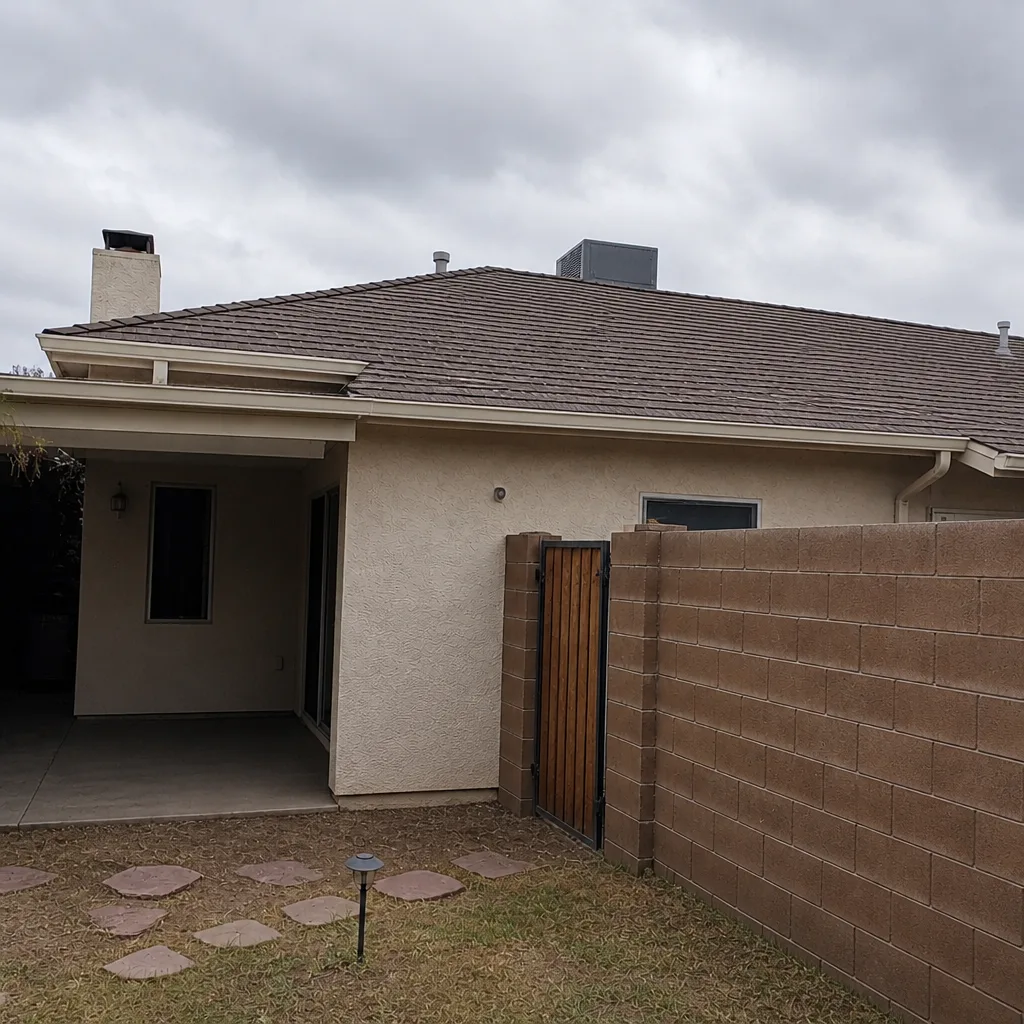 After
When to Call a Professional
Call a roofing professional when you see any of the following: daylight through the roof deck, dampness on the underside of the sheathing, a ridge cap that shifts underfoot or in wind, exposed fasteners on flashing, missing kick-out flashing at a wall transition, or any recurring stain on the ceiling after a storm. These aren’t cosmetic issues. Each one points to a workmanship or material failure that gets more expensive the longer it sits. If the roof was installed within the last few years and the installer won’t return, call us for a documented inspection and a written assessment. Ridgeline Roofing Co. Henderson offers free estimates in Henderson. Call (833) 691-6717 to schedule yours. Estimates are free, and the number on the estimate is the number on the invoice.
Frequently Asked Questions
Re-flashing a single wall transition in Henderson typically runs a few hundred dollars, while a full ridge cap reset on a 2,000-square-foot home can run into the low thousands. The cost depends on how much of the roof has to be opened up to reach the failed detail. A documented inspection is the fastest way to get a real number. Call (833) 691-6717 for a free estimate.
The window depends on the written workmanship warranty your contractor provided. Some are 90 days, some run one to five years. Read the warranty document, note the term, and put your claim in writing before it expires. If the term isn’t clear, ask the contractor in writing to clarify it.
No. A newly installed roof should not leak in any storm. If it does, the cause is almost always a flashing or seal detail that was installed wrong. Photograph the leak site from inside the attic and call the installer in writing the same day. The evidence freezes the timeline and protects your claim.
An improperly vented attic in Henderson stays hot well after sunset, shows condensation on the underside of the decking in winter, and often has insulation pressed against the soffit vents. Any of those three signals a ventilation problem that will shorten shingle life by 20 – 30% if it isn’t corrected.
In most cases, no. Flashing failures require opening the roof at the transition, resetting the metal, and re-sealing the courses, which is ladder and height work on a roof surface that’s easy to damage. A trained professional is the right call for anything above a single-story eave on flat ground. Don’t attempt it on tile or on a steep roof.
Yes. Henderson requires a building permit for roof replacement, and the permit is pulled by the licensed contractor, not the homeowner. A crew that won’t pull a permit is a crew without an inspection. Ask for the permit number before work begins. Call (833) 691-6717 for a free estimate that includes permit fees.
The Bottom Line
A new roof fails at the transitions, not in the field. Flashing, ridge caps, and penetration seals are where workmanship shows, and the first 90 days after installation are when those defects are cheapest to fix. Document every step with photos, hold your final payment until the paperwork is complete, and re-inspect after the first monsoon. Keep the warranty in writing and file claims against the right party, workmanship versus material. Our team installs GAF, CertainTeed, Owens Corning, and other major lines, documents every roof, and backs the job with a written 90-Day Done Right Promise. Call (833) 691-6717 to schedule your free estimate.
Written by the team at Ridgeline Roofing Co. Henderson.